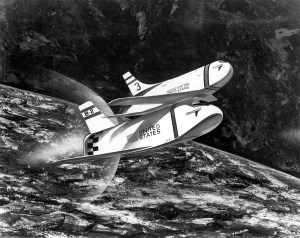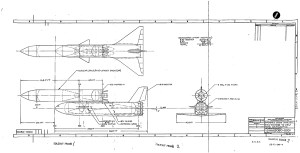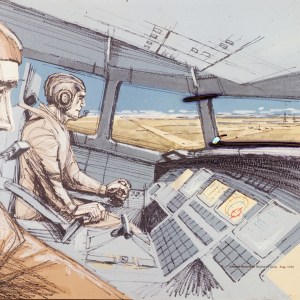
Image credit: Convair
Image source: SDASM Archives
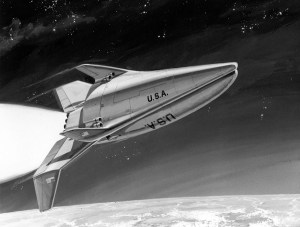
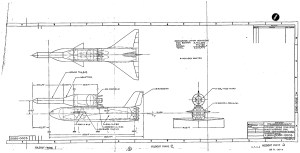
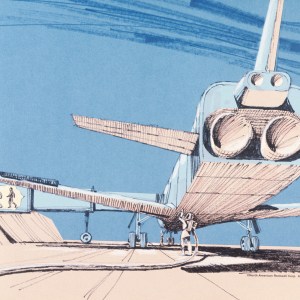
Image credit: Convair
Image source: SDASM Archives

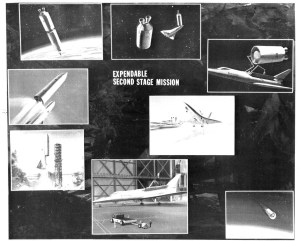
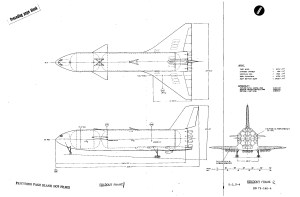
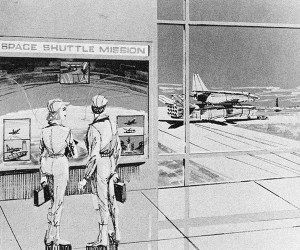
Image credit: Krafft Ehricke Papers, North American Rockwell
Image source: NASM

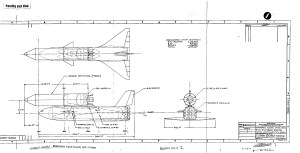
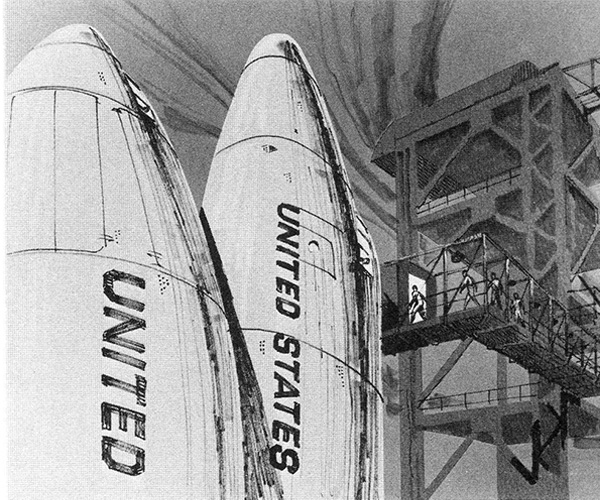
Image credit: Convair
Image source: SDASM Archives
Into The Unknown
by Don Dwiggins
Golden Gate Books, 1971
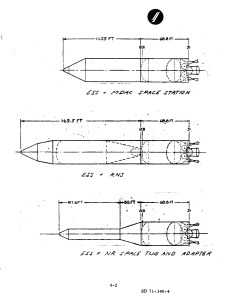
Image credit: McDonnell Douglas
Image source: Numbers Station
Image credit: NASA
Image source: National Archives

Image credit: NASA
Image source: Numbers Station
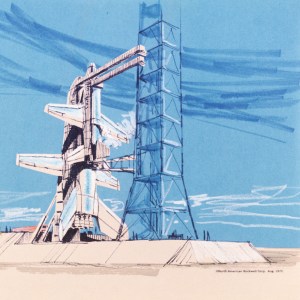
Image credit: North American Rockwell
Image source: Numbers Station