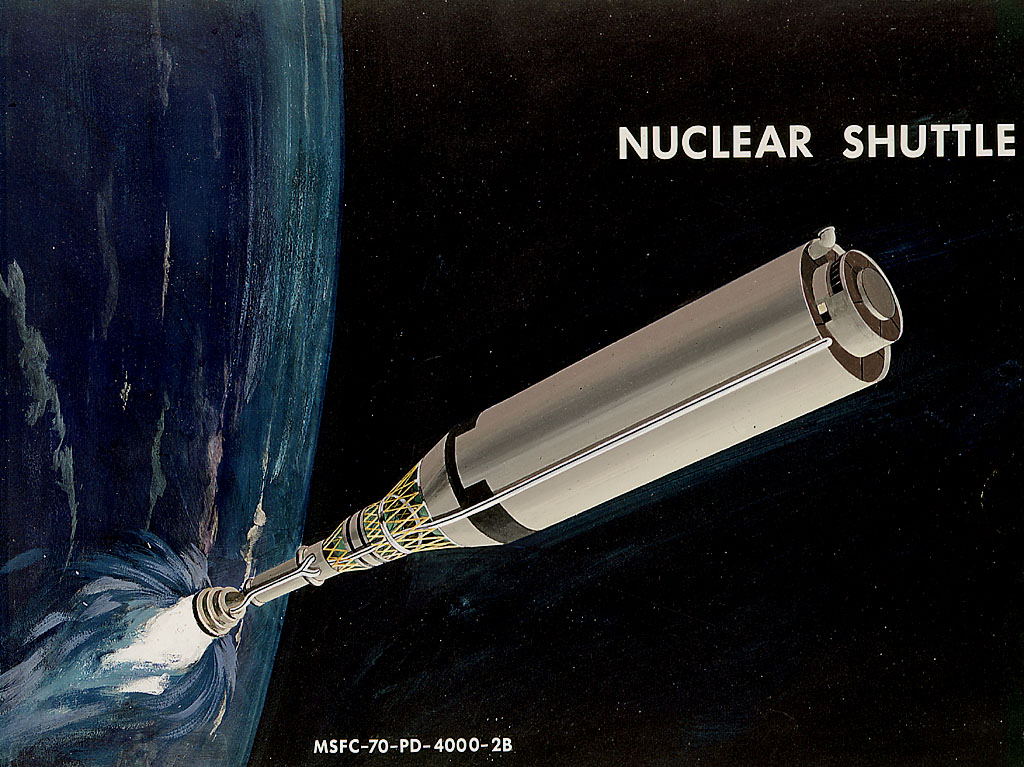
Image credit: NASA Marshall
Image source(s): Numbers Station, Mike Acs
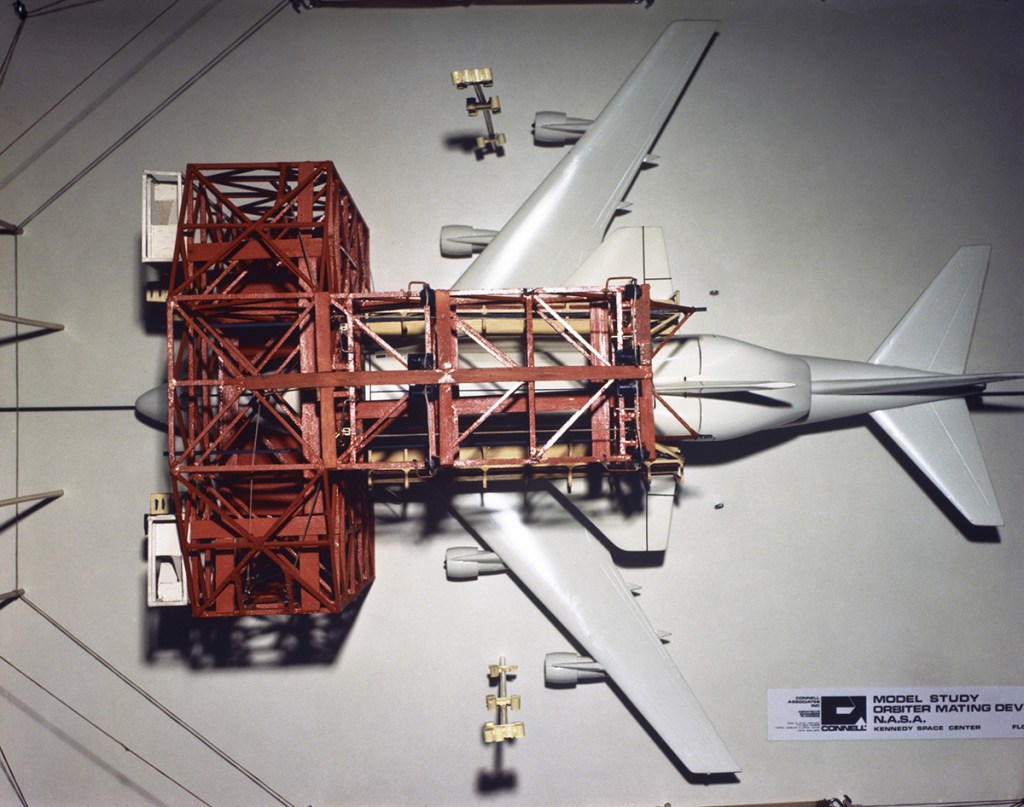
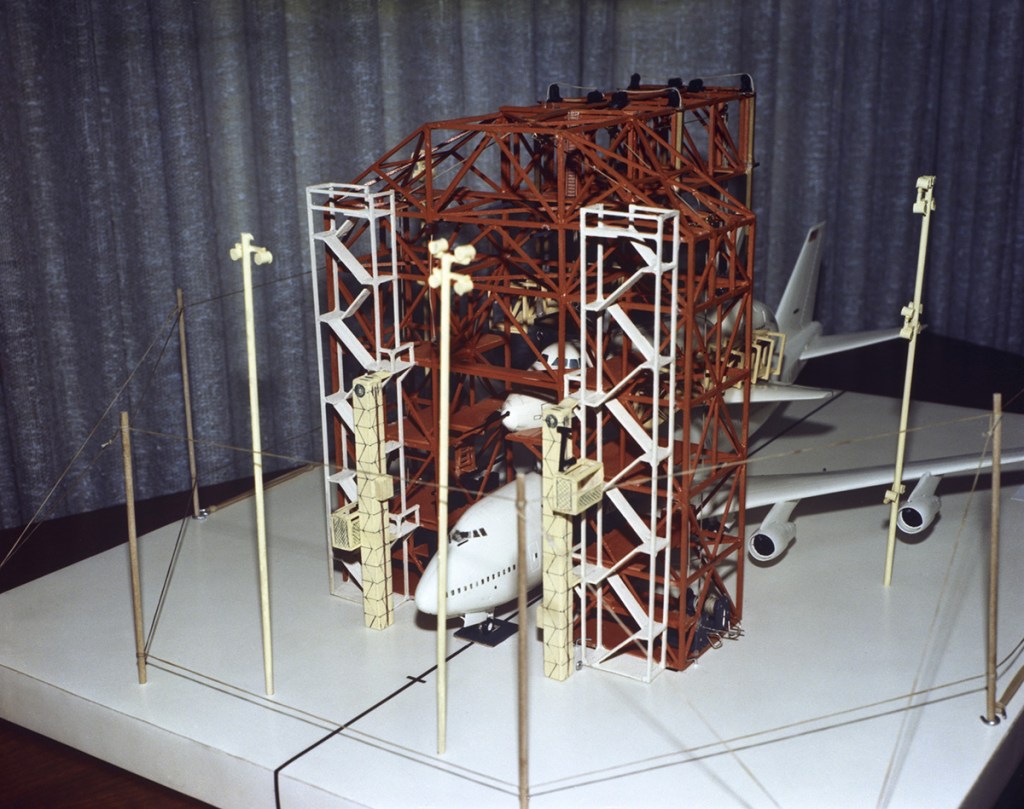
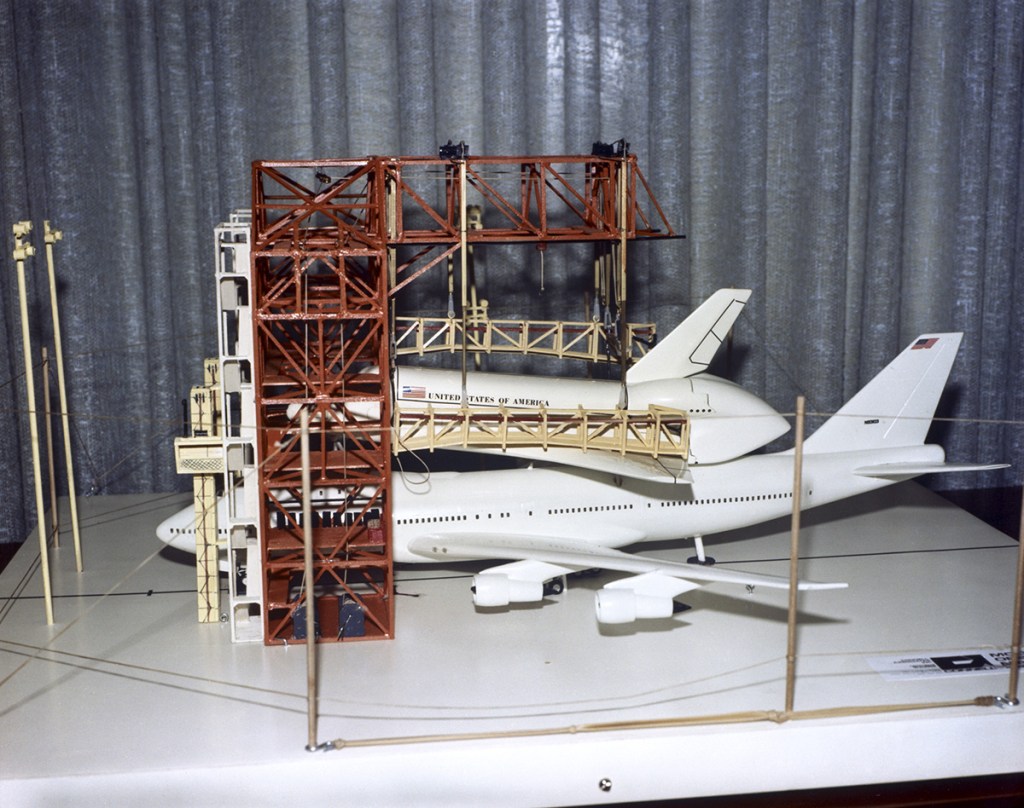
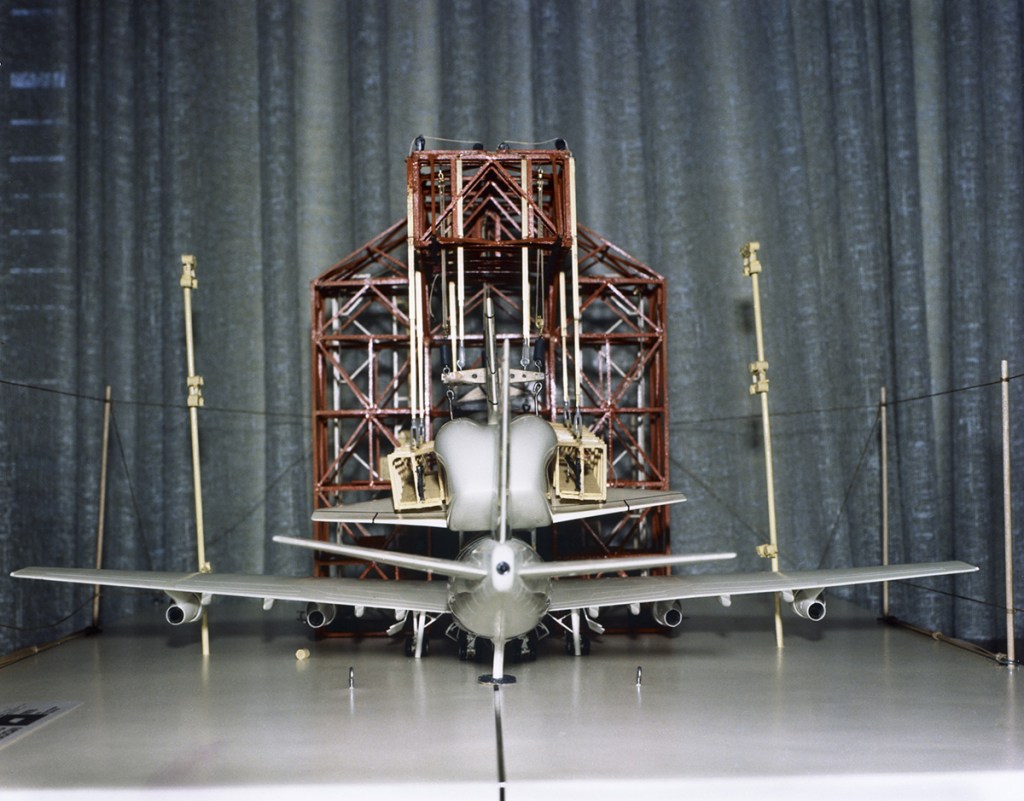
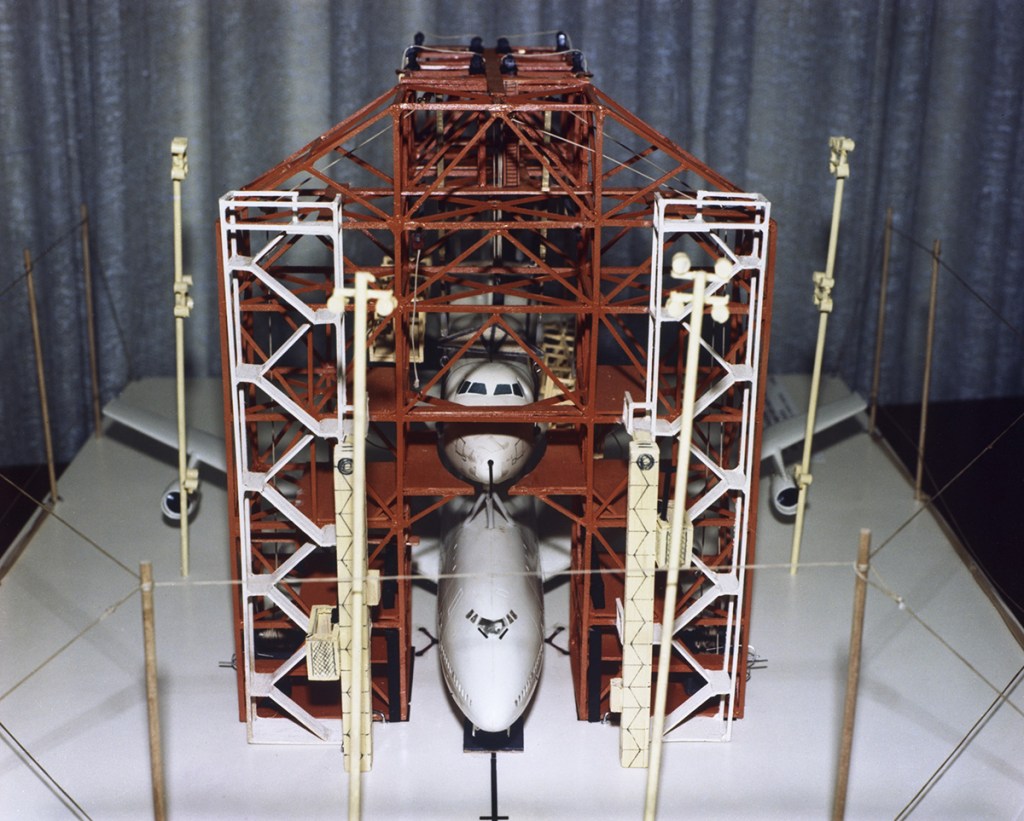
Image credit: NASA
Image source: National Archives
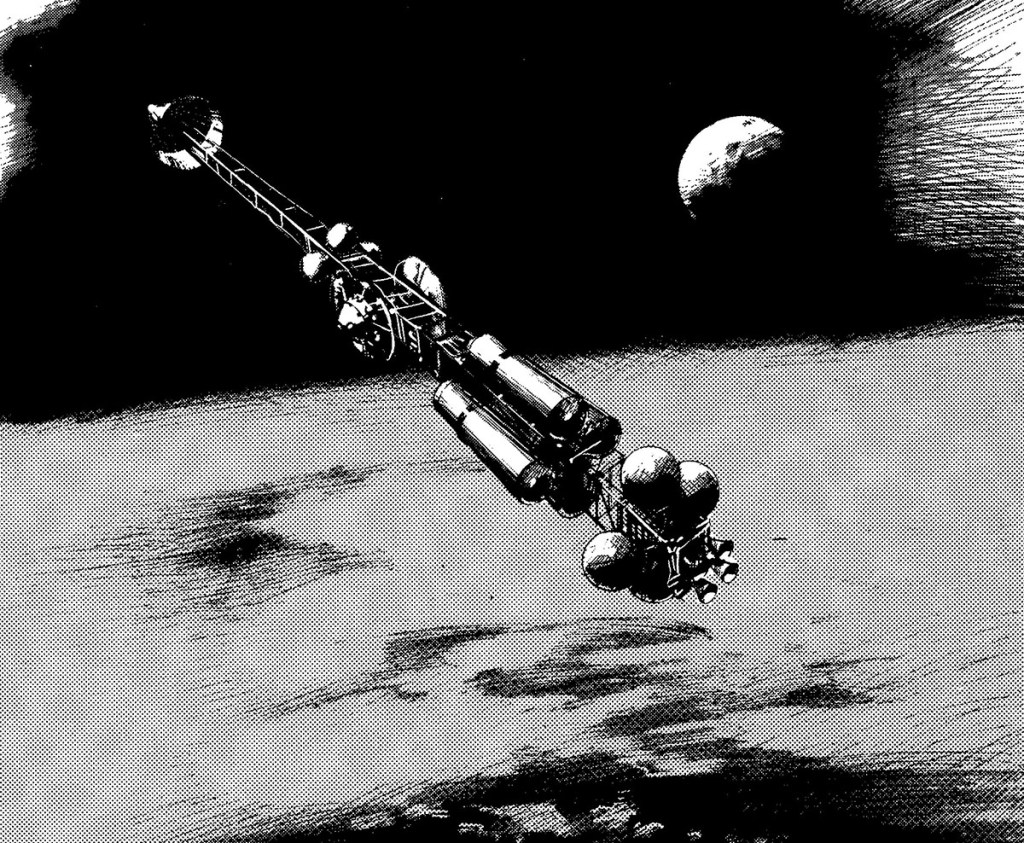
Image credit: NASA
Image source: NASA NTRS
Image credit: NASA
Image source: SDASM Archives
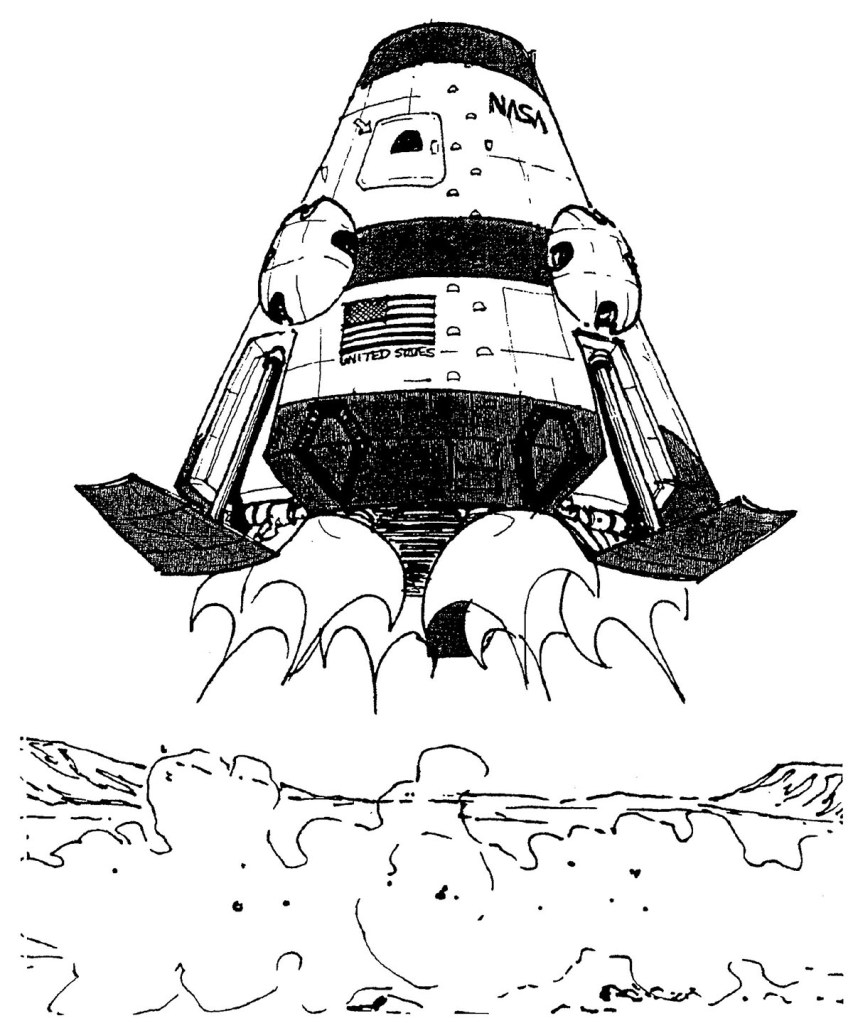
Image credit: NASA
File source: NASA NTRS
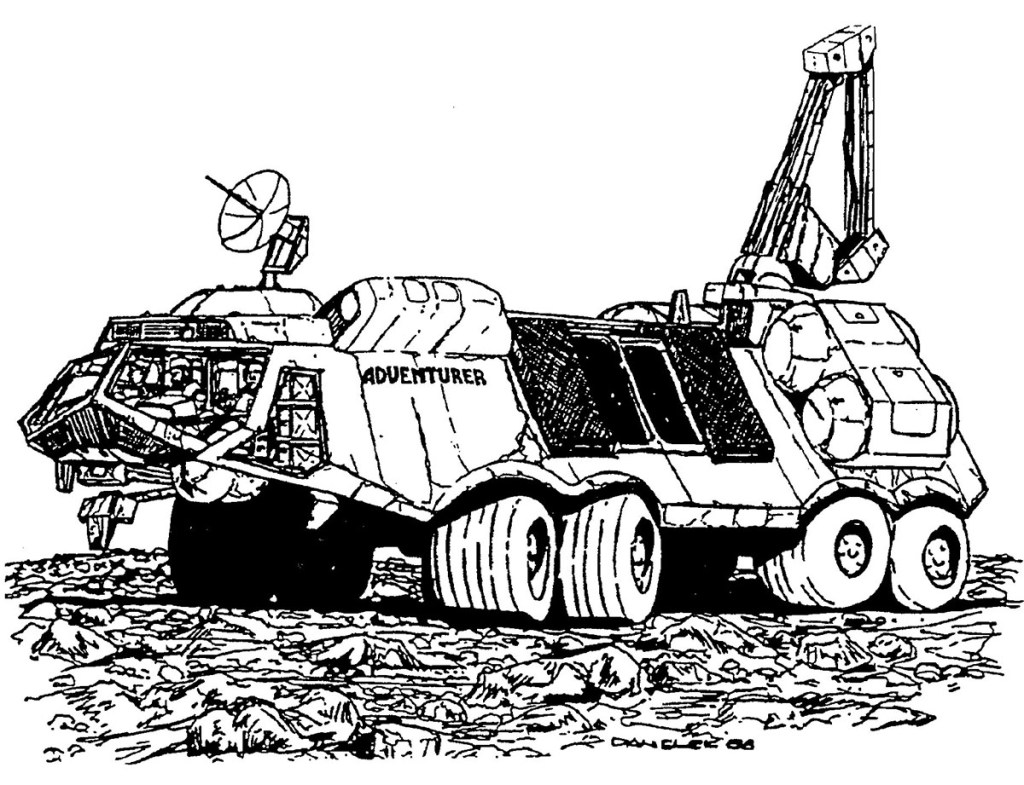
Image credit: NASA
File source: NASA NTRS
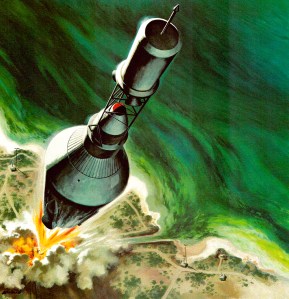
Image credit: NASA
Image source: Numbers Station
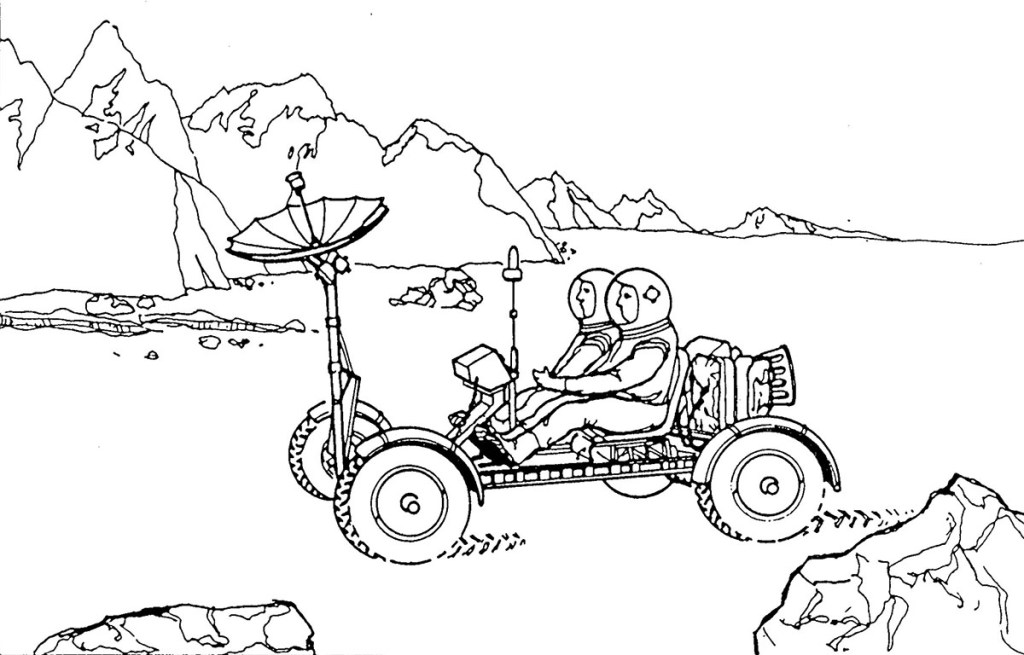

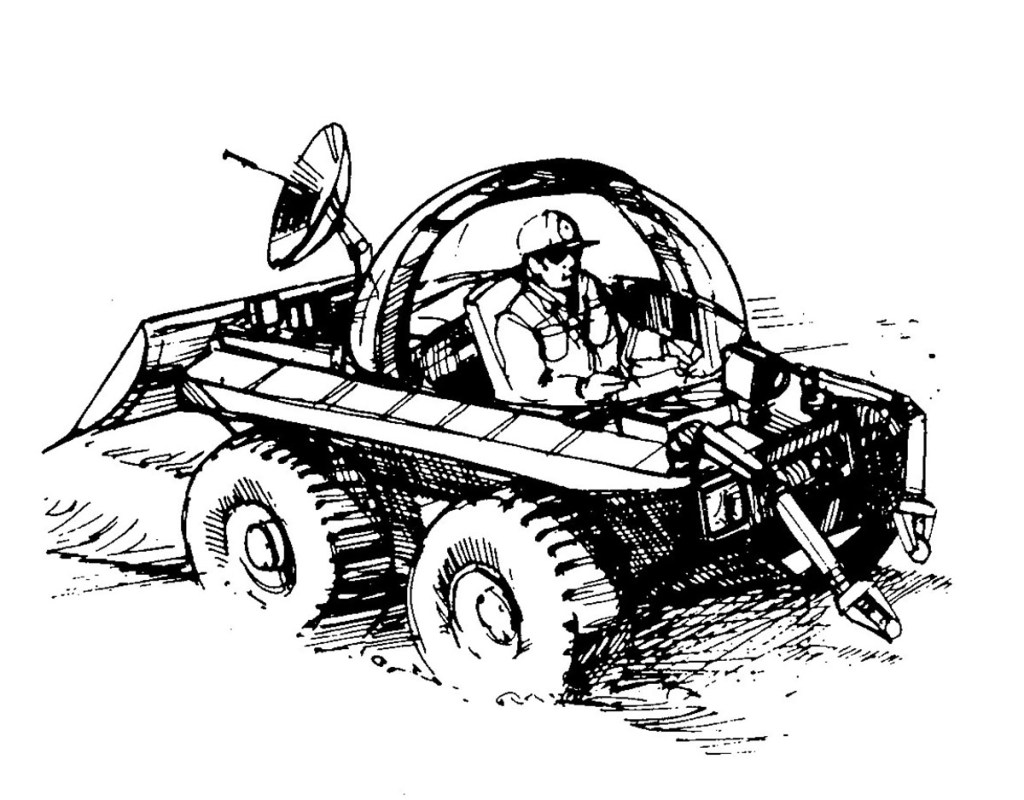
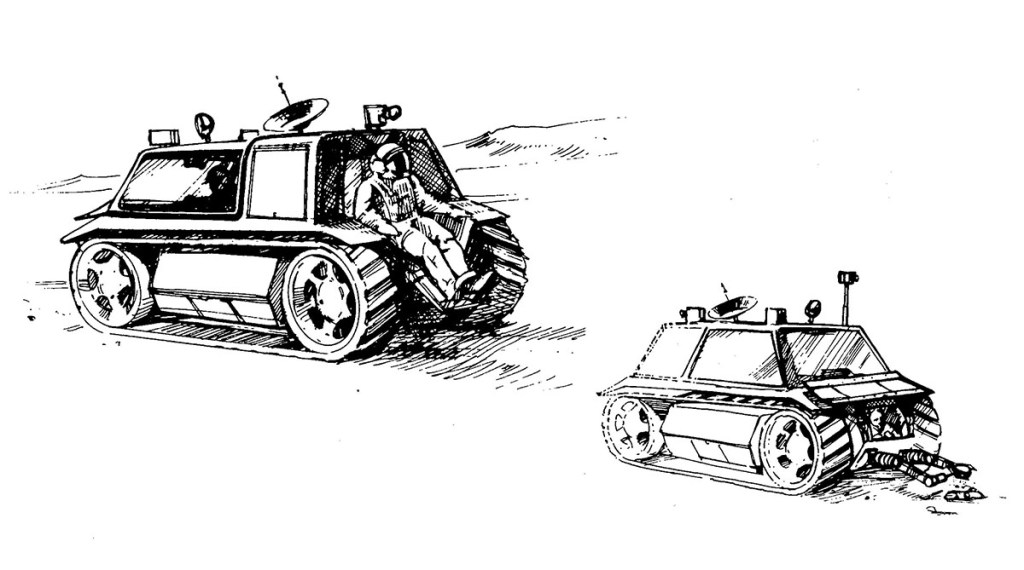
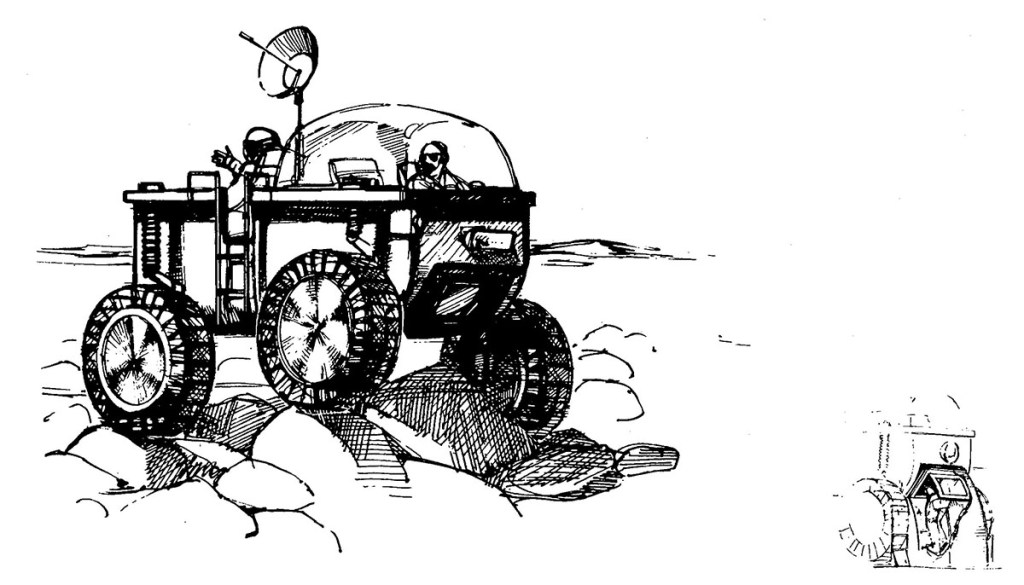
Image credit: Martin Marietta
File source: NASA NTRS
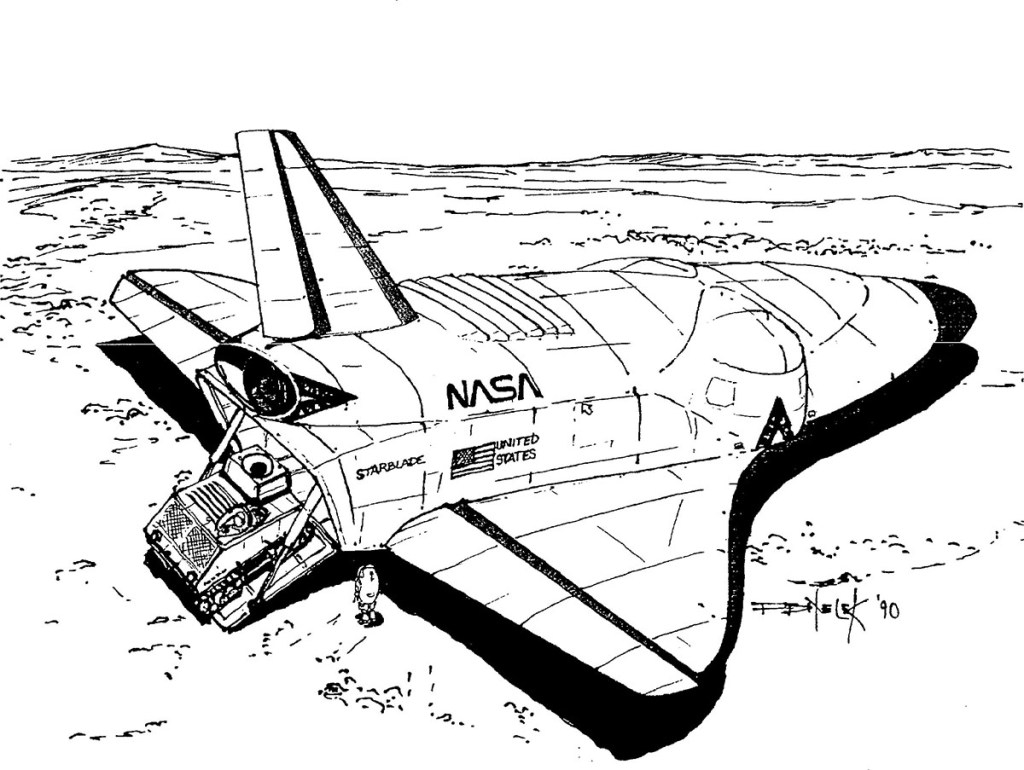
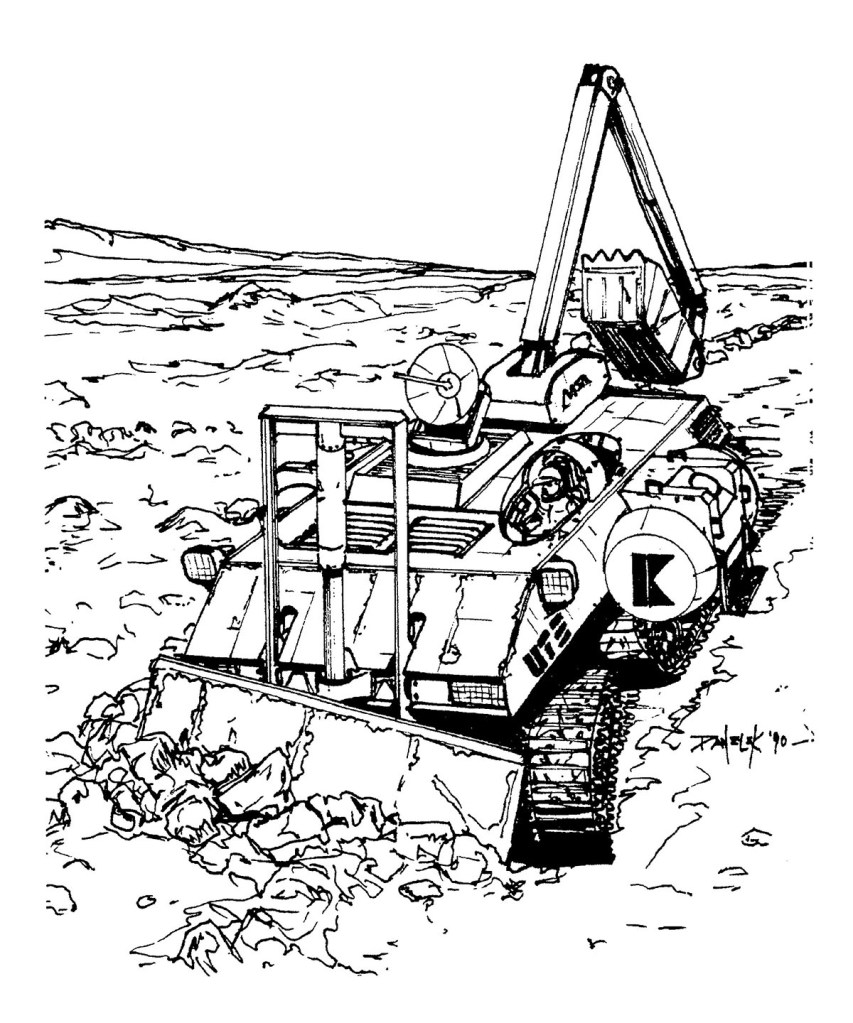
Image credit: Martin Marietta
File source: NASA NTRS
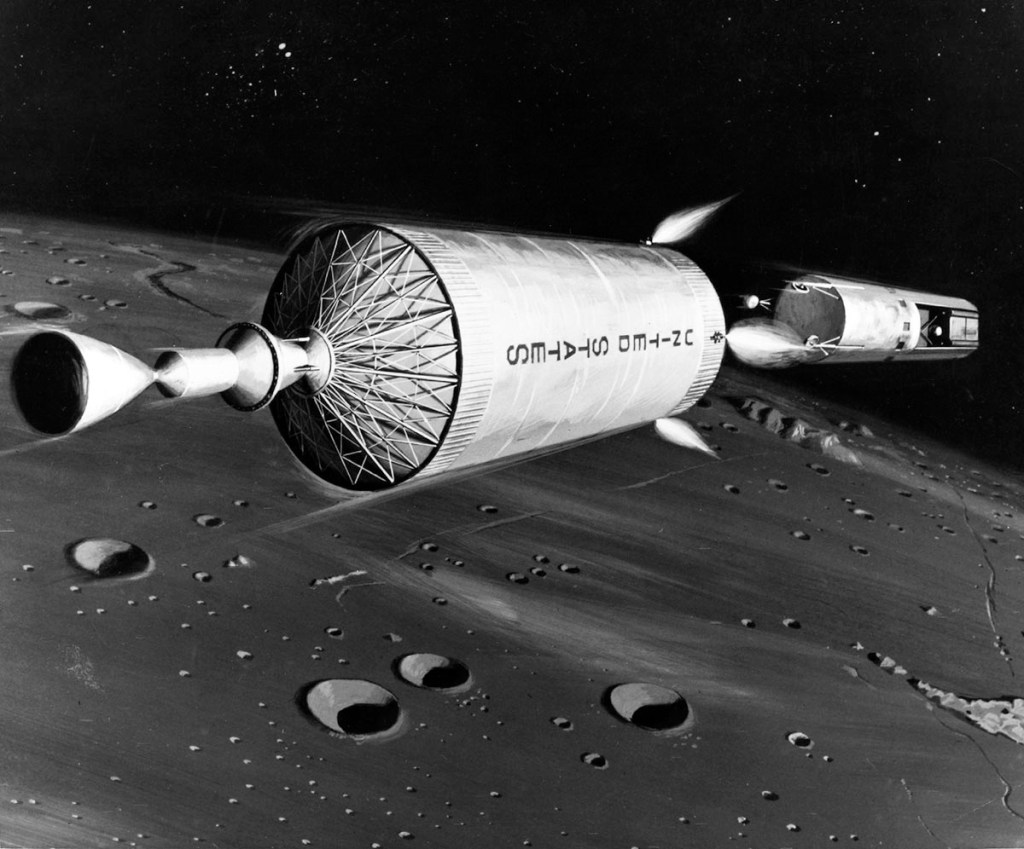
Image credit: North American Rockwell
Image source: SDASM Archives
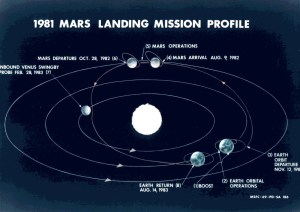
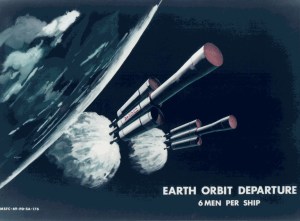
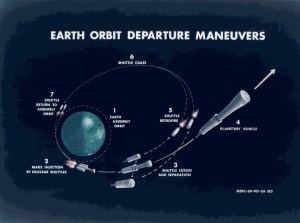
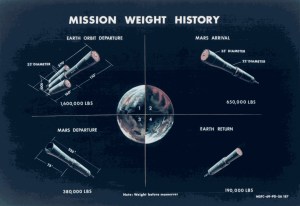
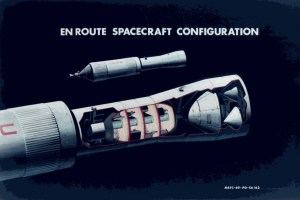
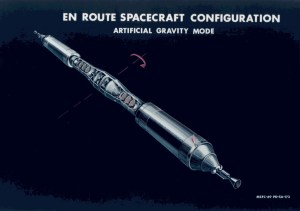
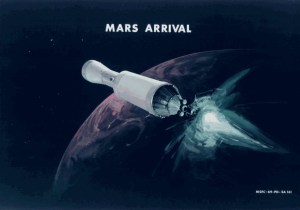
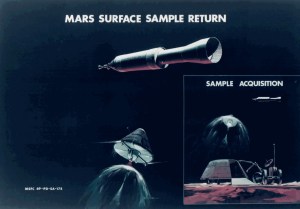
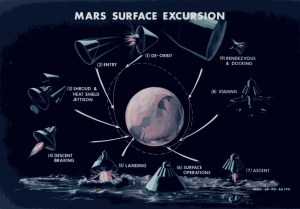
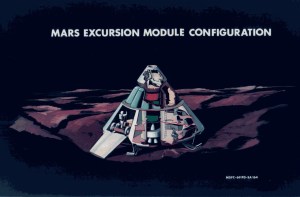
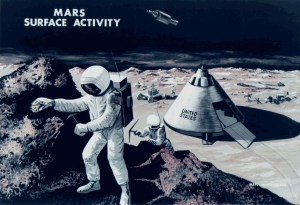
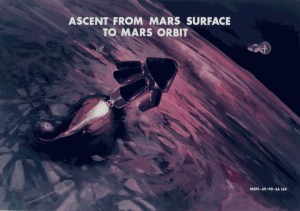
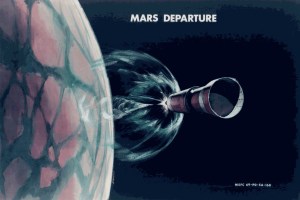
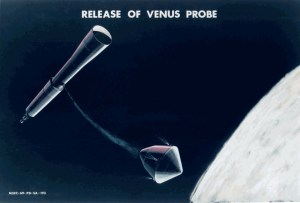
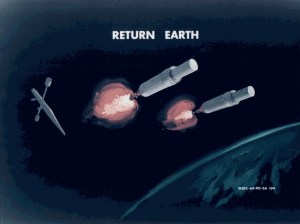
Image credit: NASA
Marshall Image source: NASA