Image credit: North American Rockwell
Image source: Mike Acs
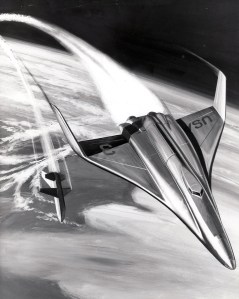
Image credit: North American Rockwell
Image source: Numbers Station
Image credit: North American Rockwell
Image source: Numbers Station

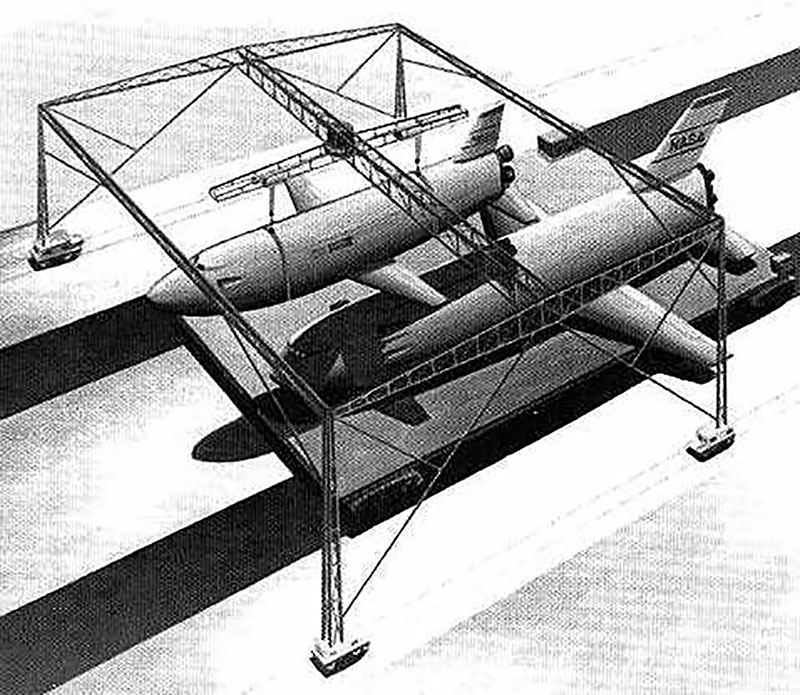

Image credit: North American Rockwell
Image credit: North American Rockwell
Image source: Numbers Station
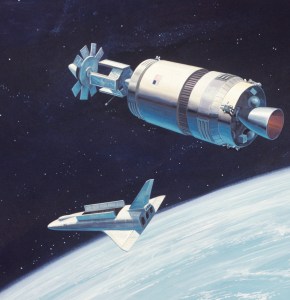
Image credit: North American Rockwell
Image source: Numbers Station
Just to illustrate just how utterly massive the R-134B would have been, take a look at this illustration from a report written by Jack Swigert for The Society of Experimental Test Pilots:
Image credit: NASA
Image source: Mike Acs
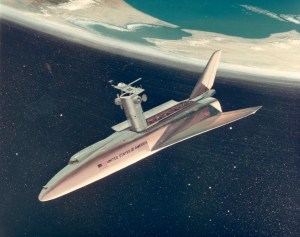
Image credit: North American Rockwell
Image source: Numbers Station

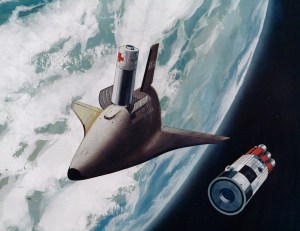
Image credit: McDonnell Douglas
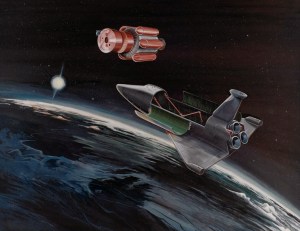
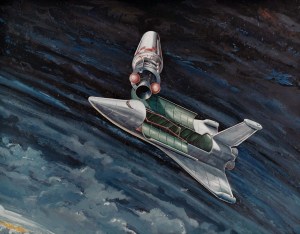
Image credit: McDonnell Douglas

Image credit: McDonnell Douglas
File source: NASA NTRS
Imaged credit: NASA
File source: NASA NTRS
