
Image credit: North American Rockwell
Image source: Mike Acs
Image credit: North American Rockwell
Image source: Mike Acs
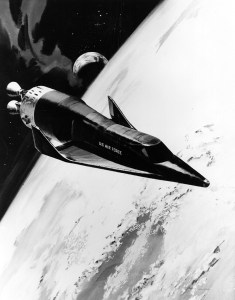
Image credit: Boeing
Image source: Numbers Station
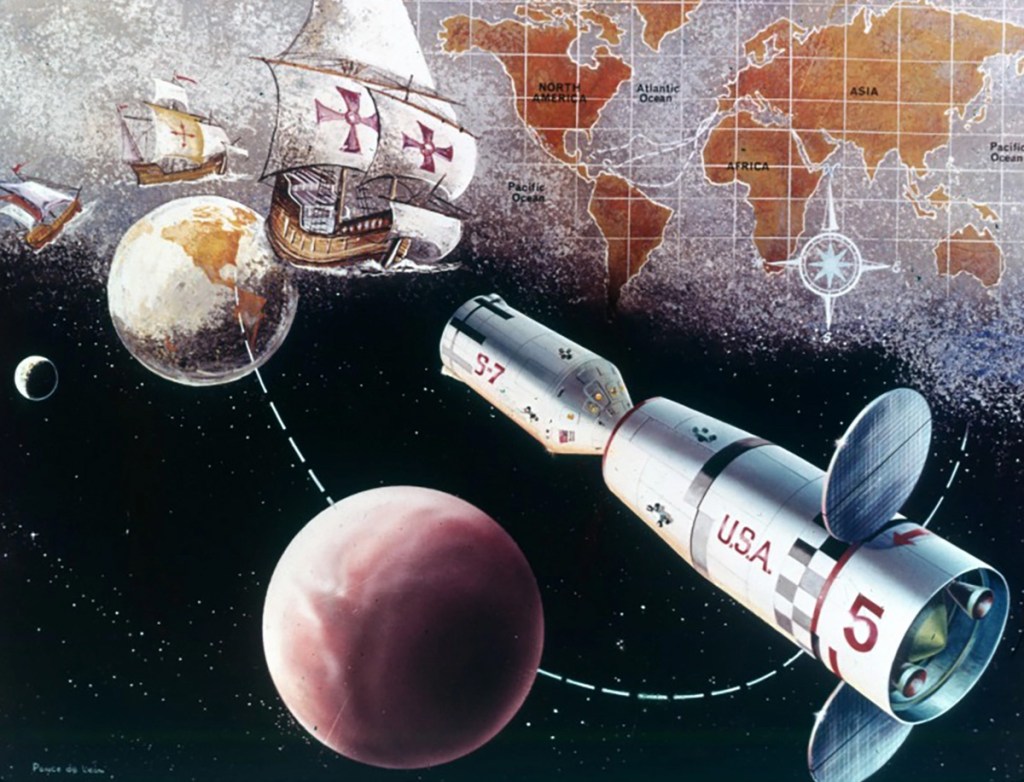
Image credit: Douglas
Image source: SDASM Archives
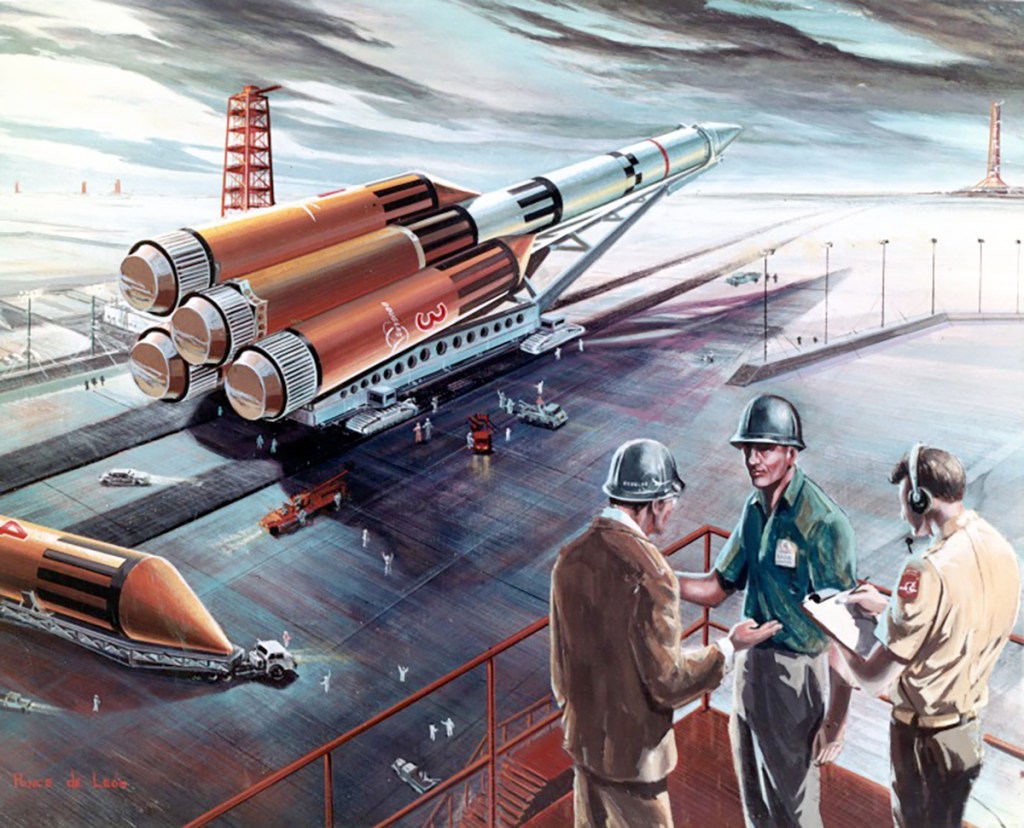
Image credit: Douglas
Image source: SDASM Archive
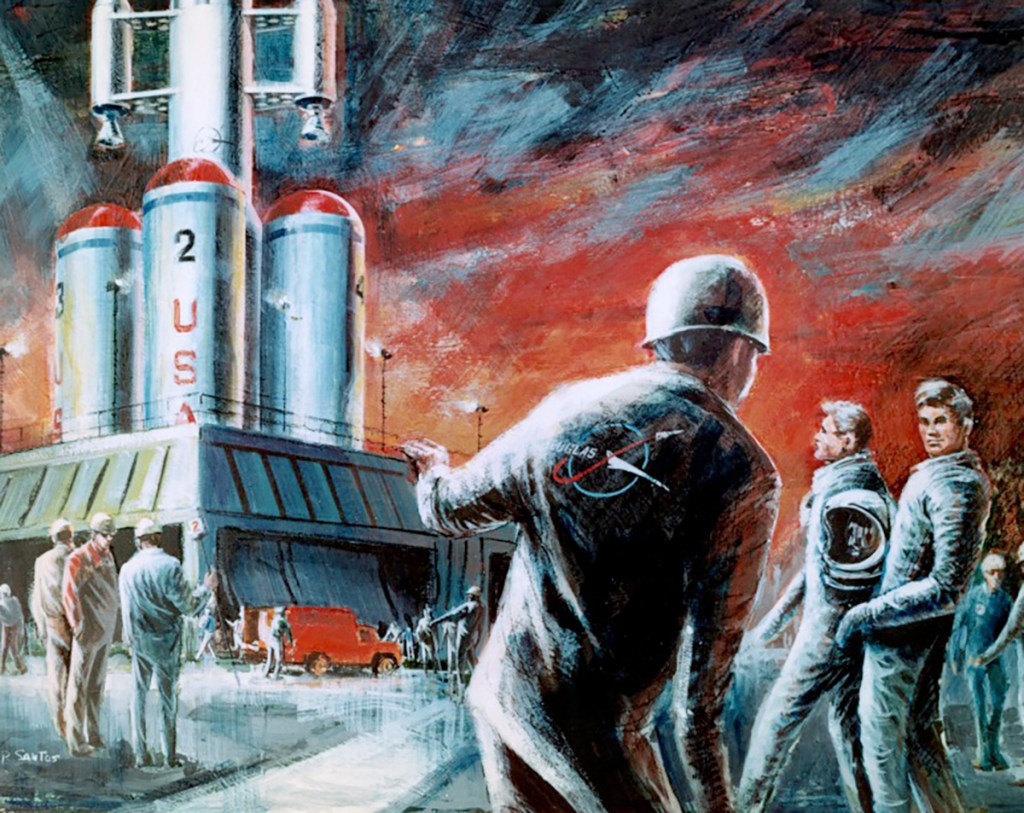
Image credit: Douglas
Image source: SDASM Archive
Image credit: Douglas
Image source: SDASM Archive
Image credit: Convair
Image source: SDASM Archives

Planetary Illustrations (artists’ concepts)
Image credit: Krafft Ehricke Papers / Lockheed
Image source: NASM

Image credit: North American Rockwell
Images: NASA, Mike Acs
Image credit: NASA Marshall
Image source: NASA on The Commons
Planetary Illustrations (artists’ concepts)
Image credit: Krafft Ehricke Papers / North American Rockwell
Image source: NASM
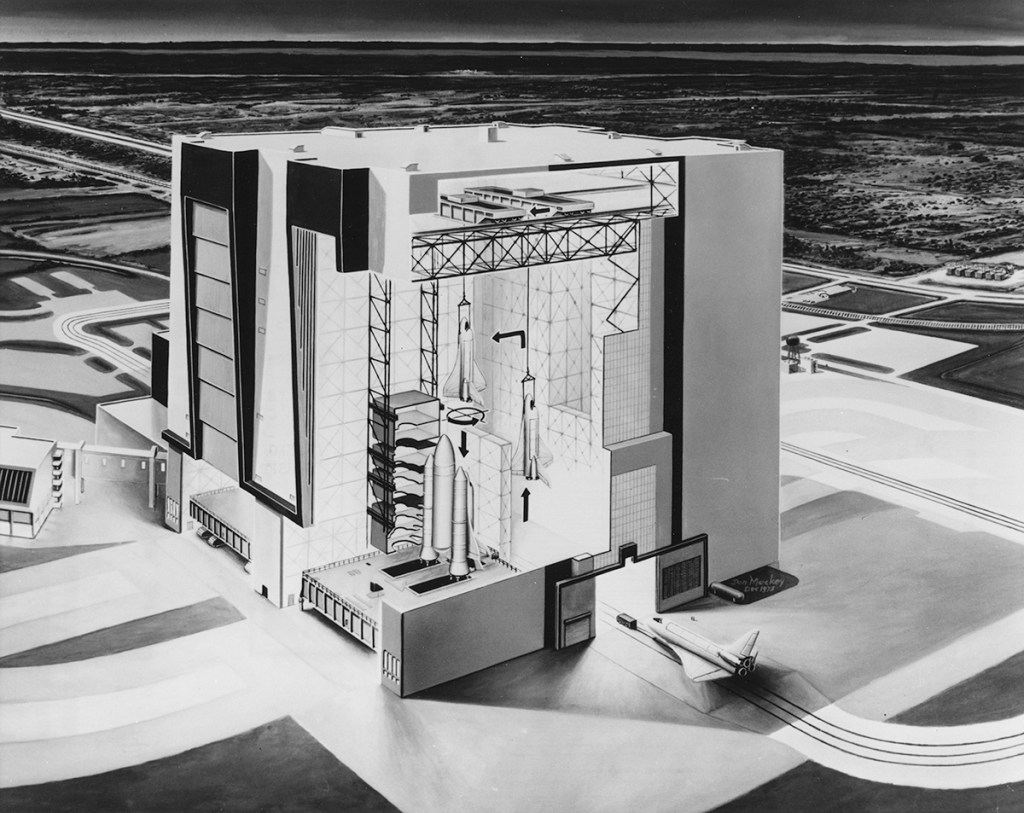
Image credit: NASA
Image source: National Archives
