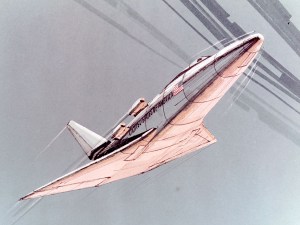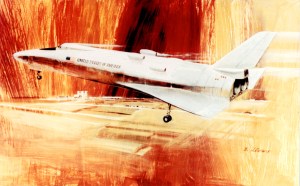
Image credit: Convair
Image source: SDASM Archives
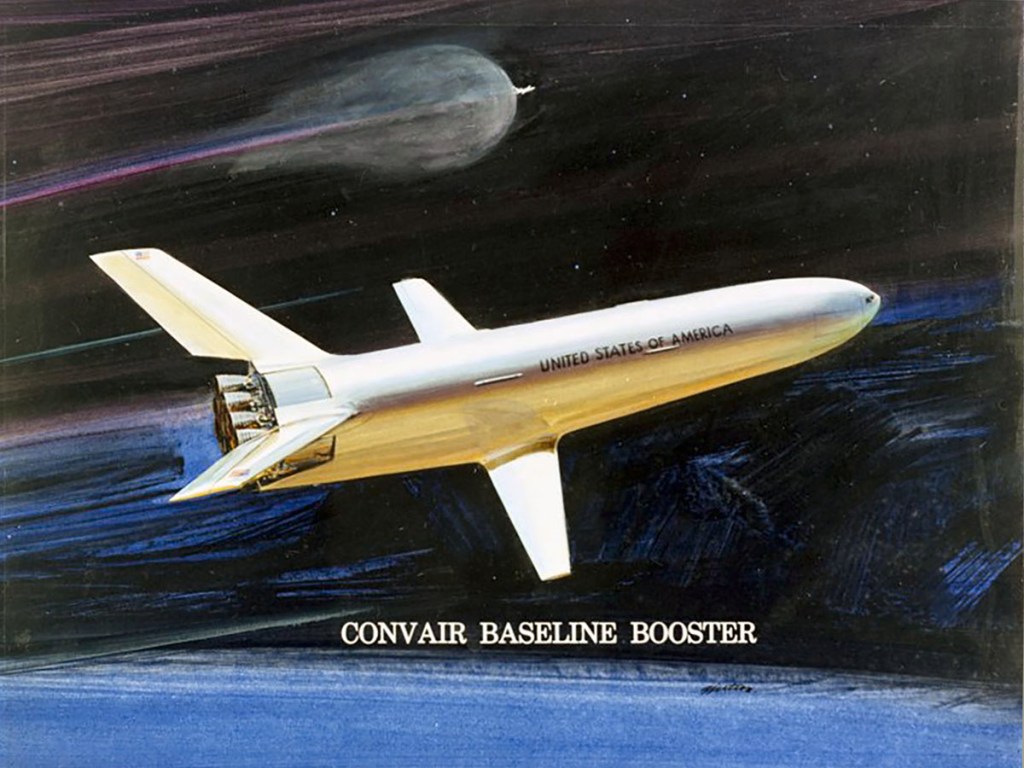
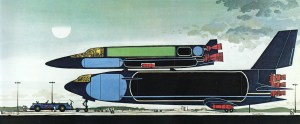
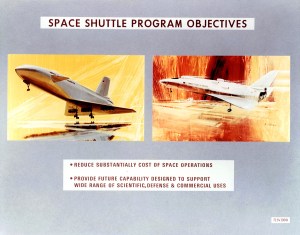
Image credit: Convair
Image source: SDASM Archives
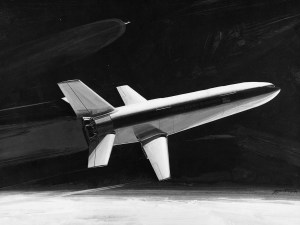
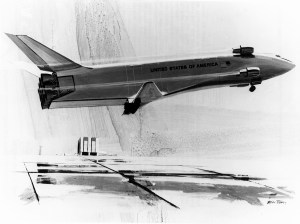
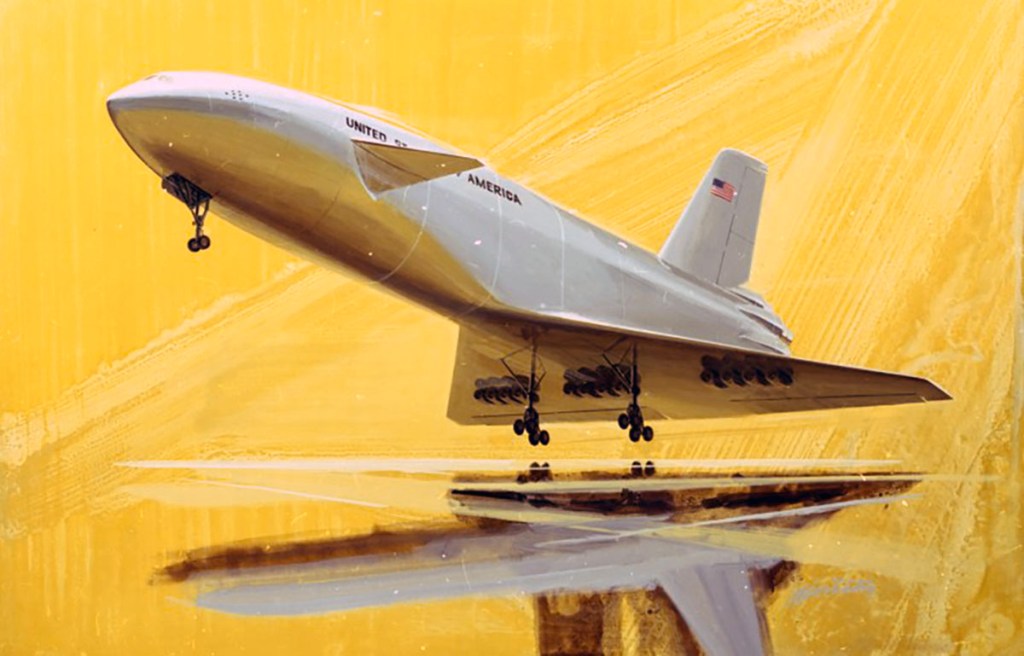
Image credit: Convair
Image source: SDASM Archives
Our World in Space
Robert McCall & Isaac Asimov
New York Graphic Society, 1974
Image credit: Robert McCall
Image credit: NASA
Image source: Numbers Station
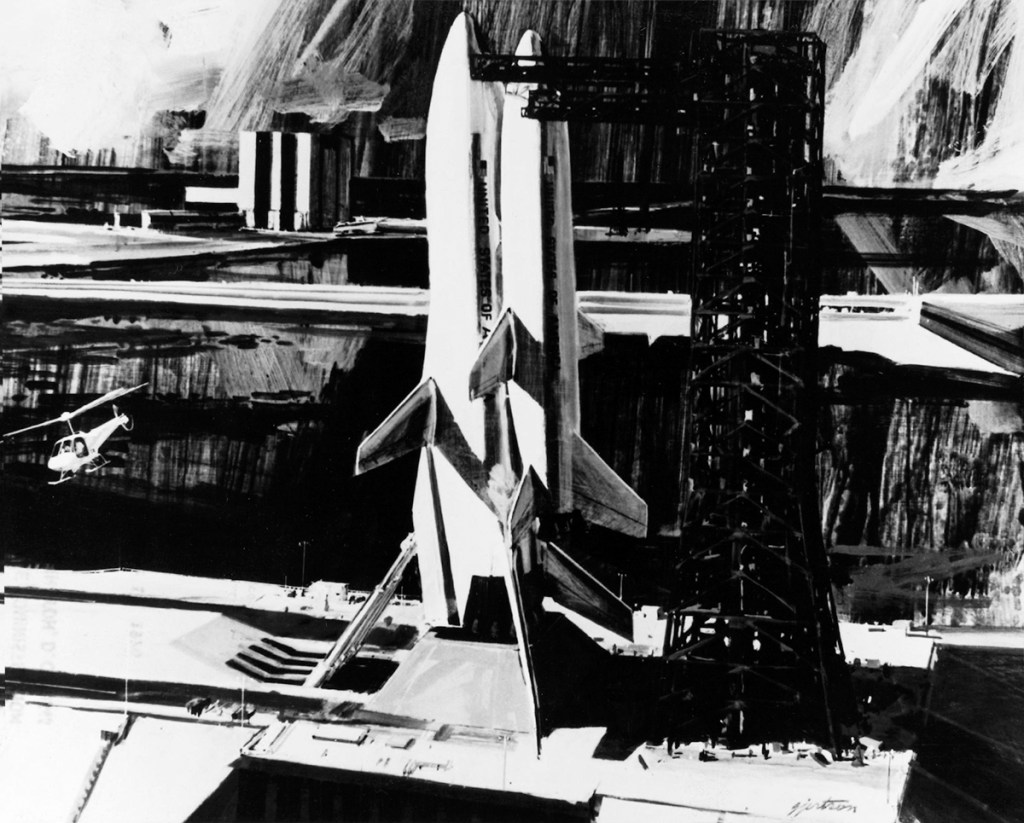
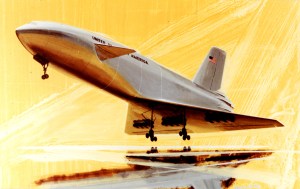
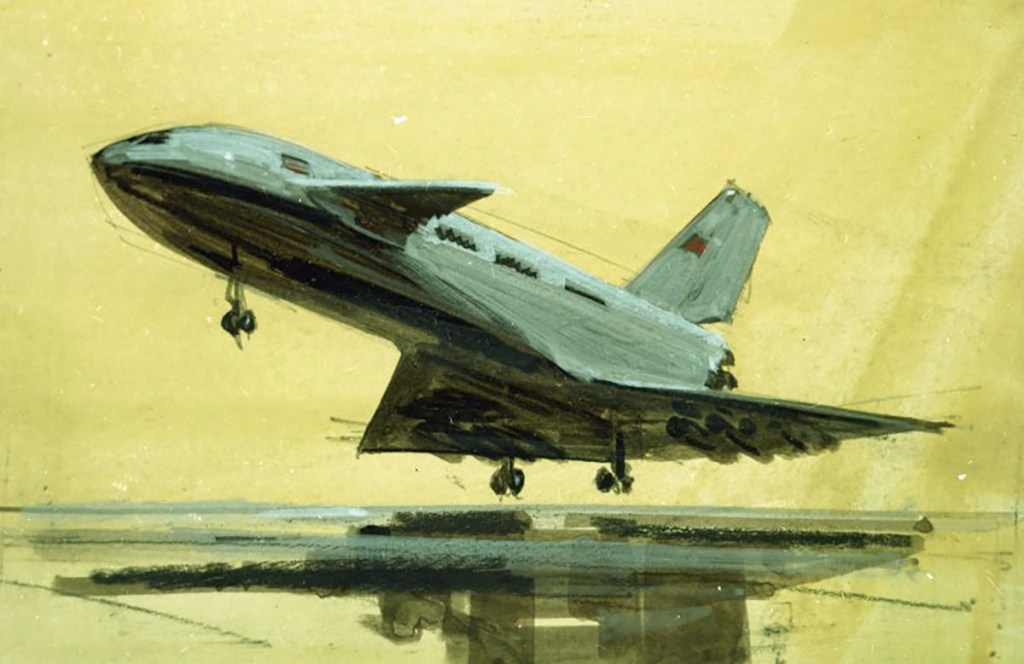
Image credit: Convair
Image source: SDASM Archives

Image credit: Krafft Ehricke Papers, North American Rockwell
Image source: NASM

Image credit: Convair
Image source: SDASM Archives
Image credit: NASA
Image source: National Archives

Image credit: NASA
Image source: Numbers Station