
Image credit: NASA LRC
Image source: DVIDS
Image credit: NASA LRC
Image source: DVIDS
Image credit: Convair
Image source: SDASM Archives
Image credit: NASA
Image source: NASA MSFC
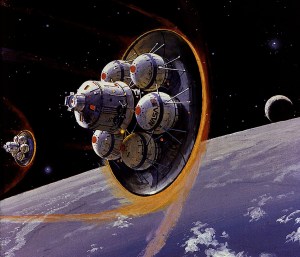
Image credit: NASA MSFC
Image source: NASA Images

Image credit: Convair
Image source: SDASM Archives
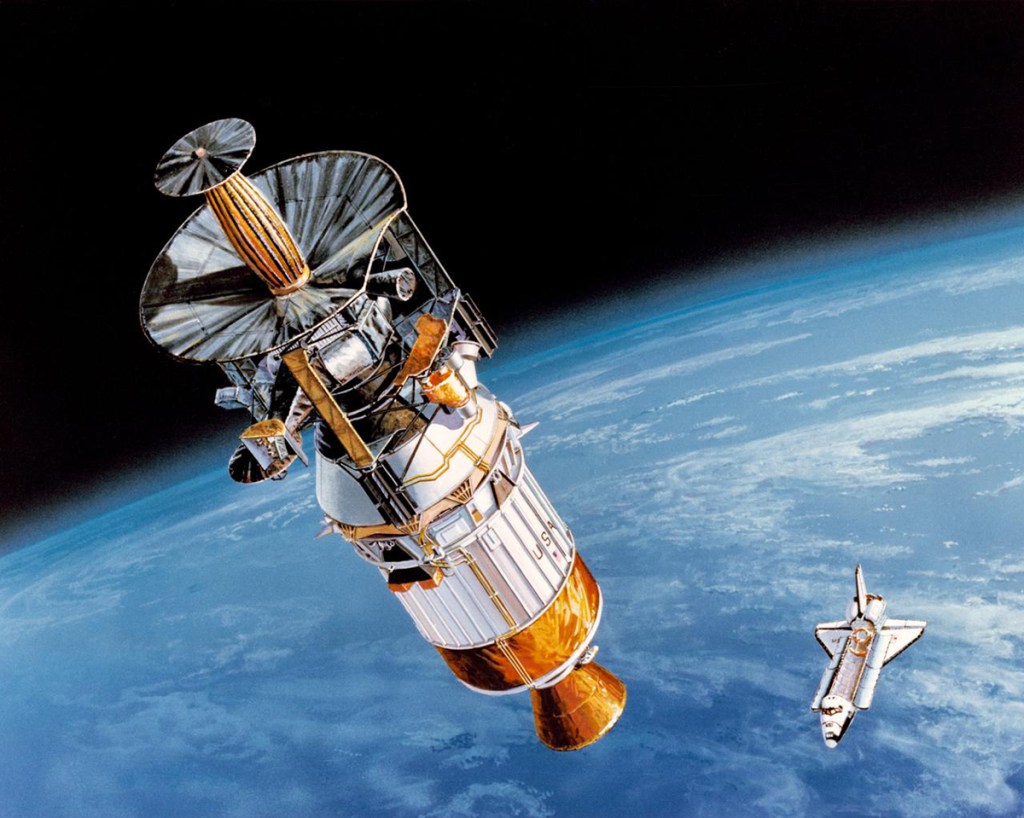
Image credit: NASA
Image source: NASA JSC

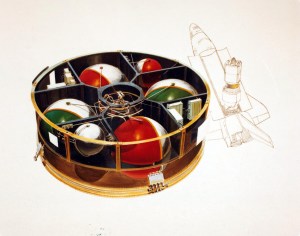
Image credit: NASA
Image source: Wikipedia
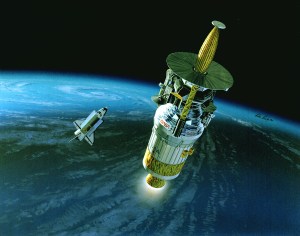
Image credit: NASA
Image source: Wikipedia


