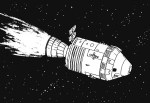
Launch Day

Top Left: Flight Crew Preparation
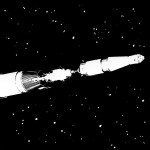
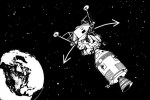
Top Right: Orbital Insertion
Middle Left: 103 N. Mile Orbit
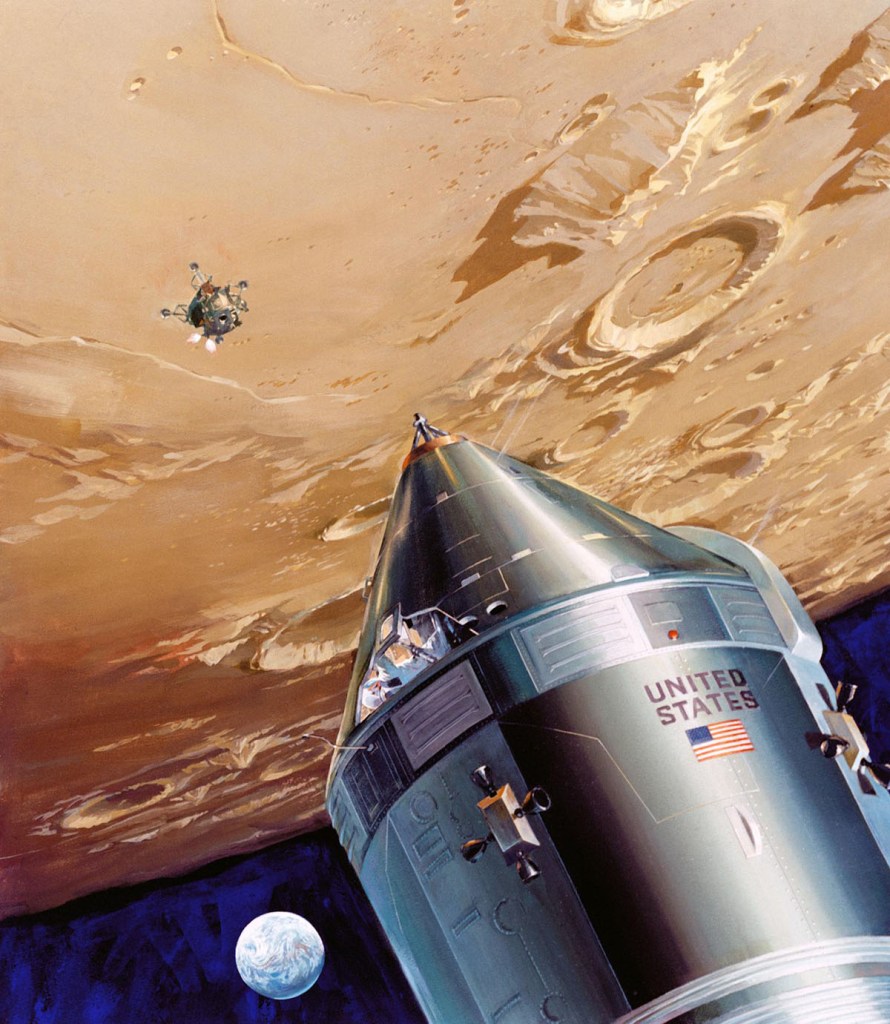
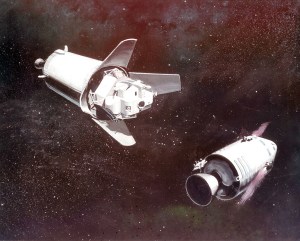
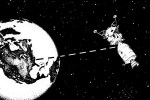
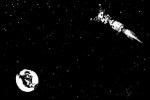
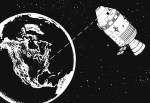
Middle Right: Separation
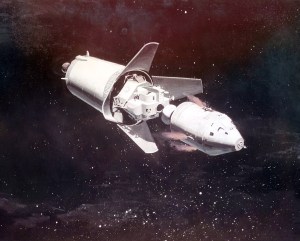
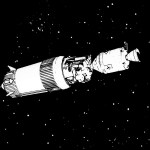
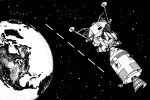
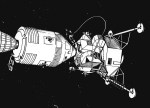
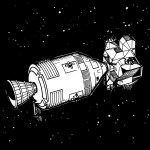
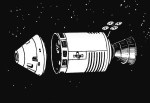
Bottom Left: Docking
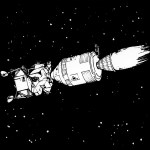
Bottom Right: Docked SPS Burn
Second Day
Top Left: Landmark Tracking
Top Right: Pitch Maneuver
Bottom Left: Yaw-Roll Maneuver
Bottom Right: High Apogee Orbits
Third Day
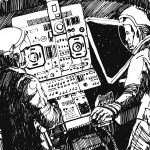
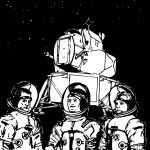
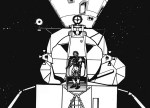
Left: Crew Transfer
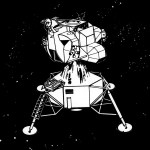
Right: LM System Evaluation
Fourth Day

Top Left: Camera
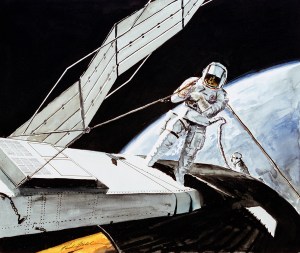
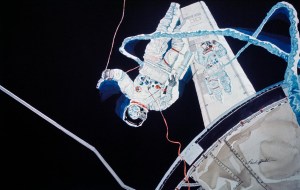
Top Right: Day-Night EVA
Bottom Left: Golden Slippers
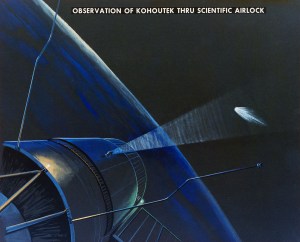
Bottom Right: TV – Texas, Florida
Fifth Day
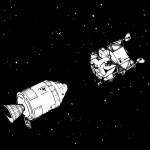
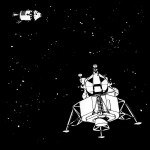
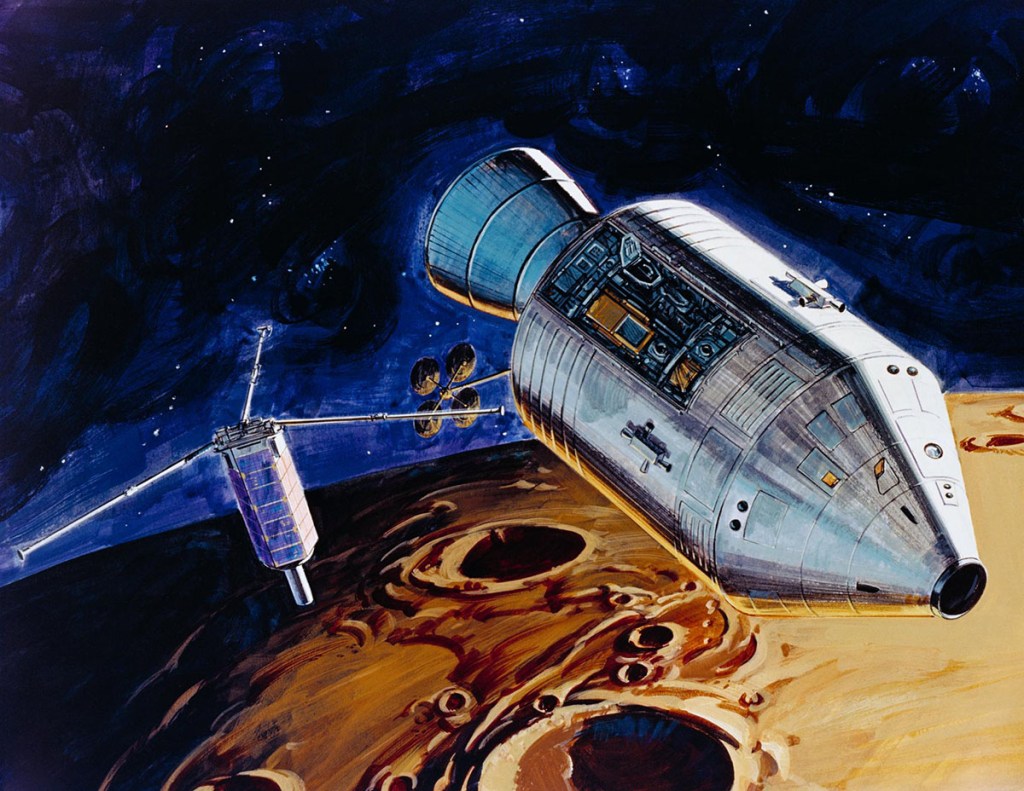
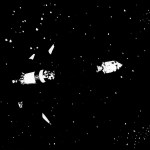
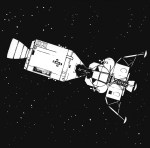
Top Left: Vehicles Undocked
Top Right: Burns For Rendezvous
Middle Left: Maximum Separation
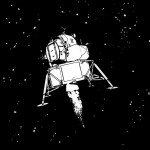
Middle Right: APS Burn
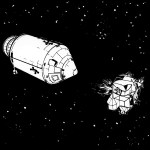
Bottom Left: Formation Flying And Docking
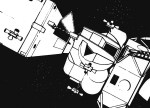
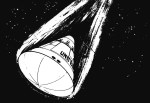
Bottom Right: LM Jettison Ascent Burn
Sixth Thru Ninth Days
Left: Service Propulsion Burns
Right: Landmark Sightings, Photograph Special Tests
Tenth Day
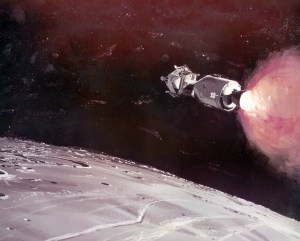
Top Left: CM/SM Separation
Top Right: Re-Entry
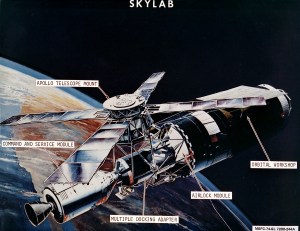
Image credit: NASA JSC
Images: NASA Images