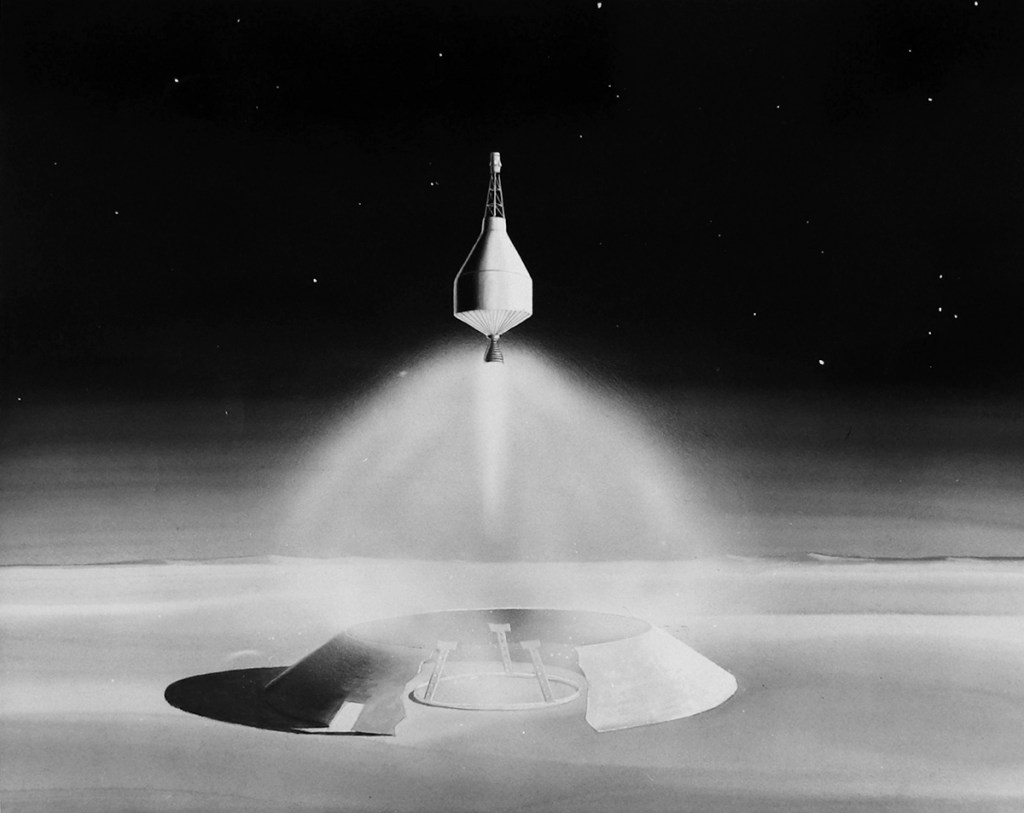
Image credit: General Dynamics / Astronautics
Image source: SDASM Archives
Image credit: General Dynamics / Astronautics
Image source: SDASM Archives
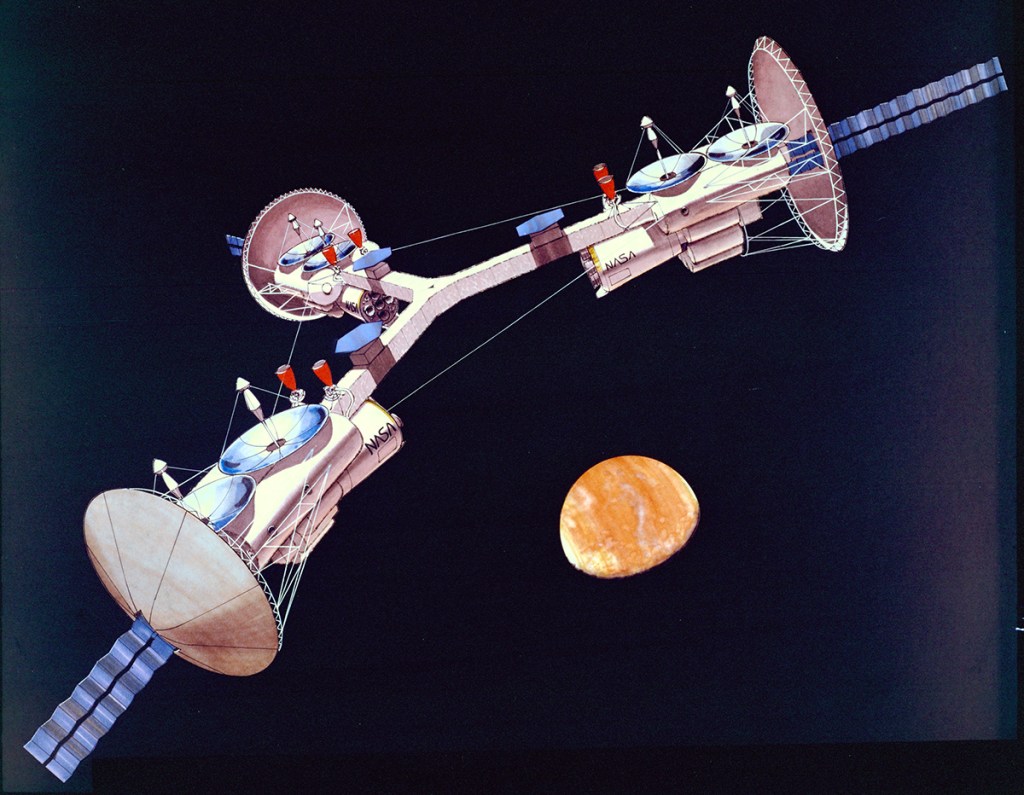
Image credit: NASA ARC
Image source: NASA Images
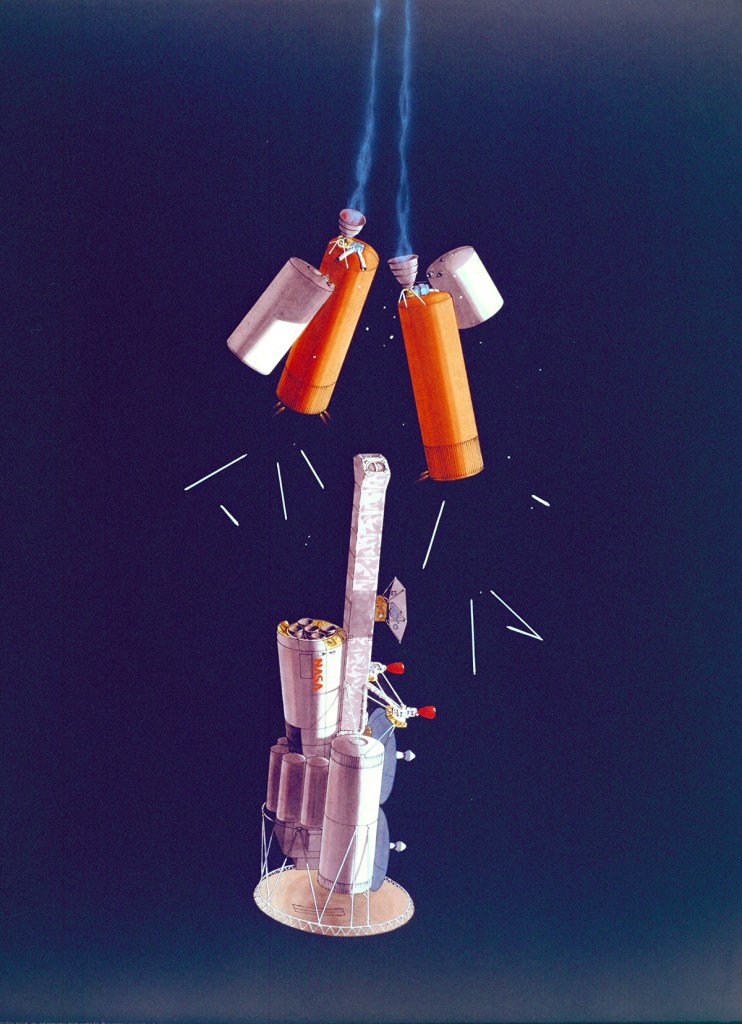
Image credit: NASA ARC
Image source: NASA Images
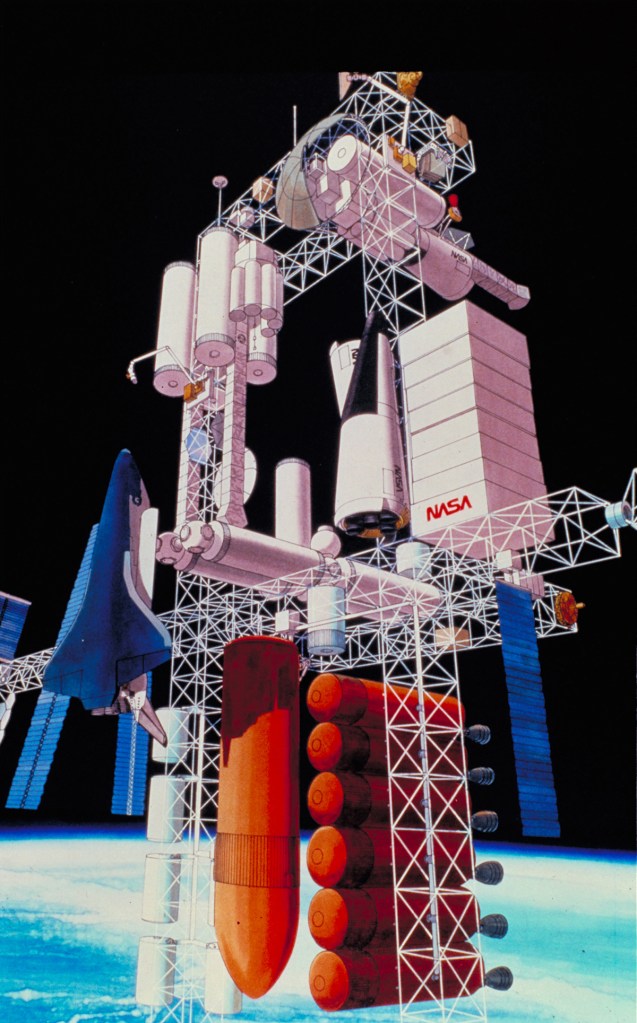
Image credit: NASA ARC
Image source: NASA Images
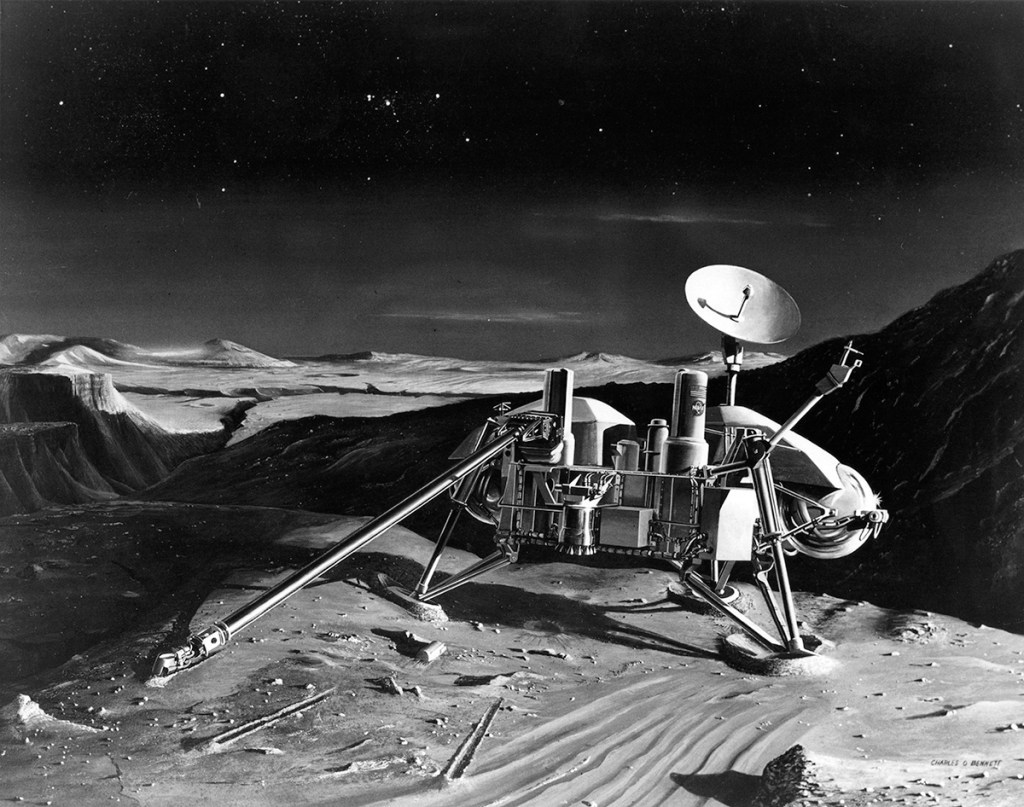
Image credit: TRW
Image credit: Mike Acs

Image credit: NASA
Image source: DVIDS
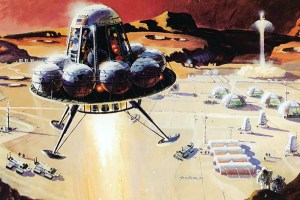
Image credit: Grumman
Image source: Cradle of Aviation Museum

Image credit: Aeronutronic
Image source: James Vaughan

Image credit: NASA Lewis
Image source: National Archives

Image credit: Boeing
File source: NASA NTRS
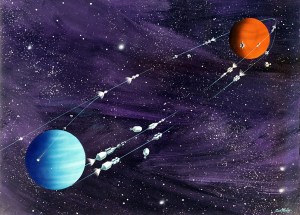
Image credit: General Dynamics / Astronautics
Image source: SDASM Archives