Image credit: GD / Convair
Image source: Numbers Station
Image credit: GD / Convair
Image source: Numbers Station
see also:
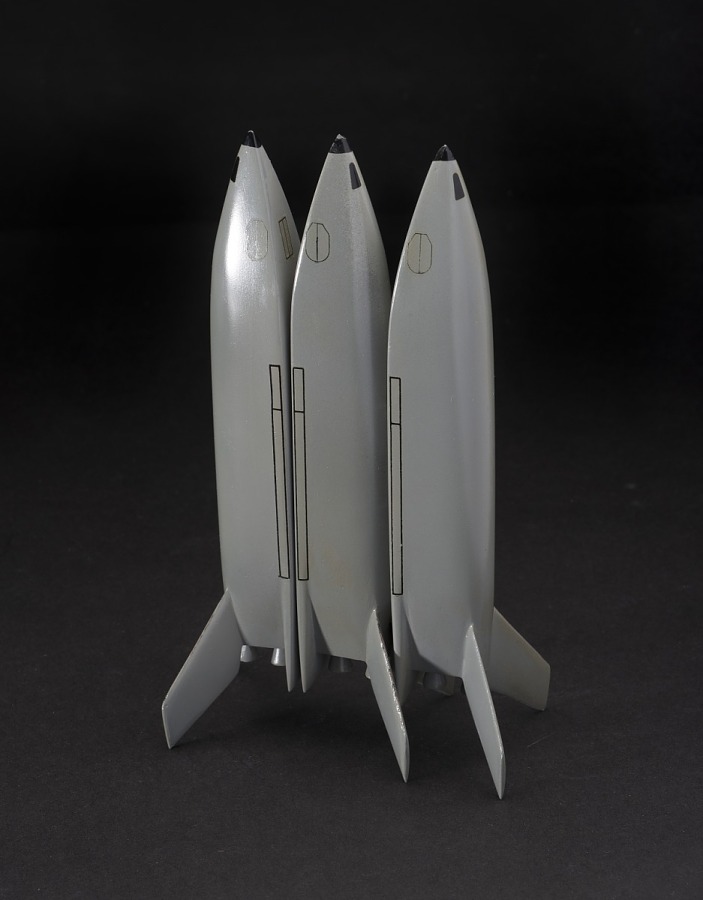
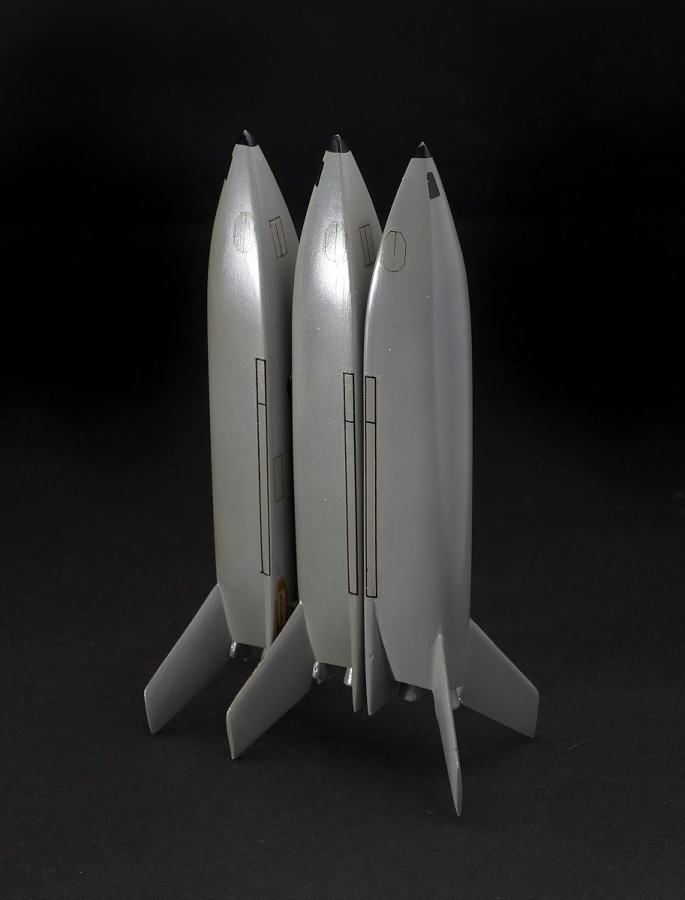
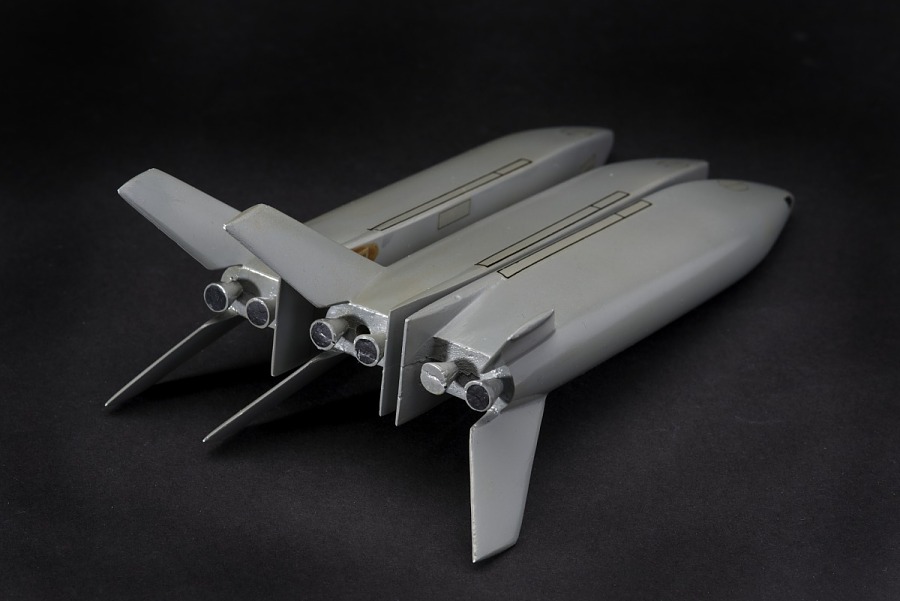
Image credit: GD / Convair
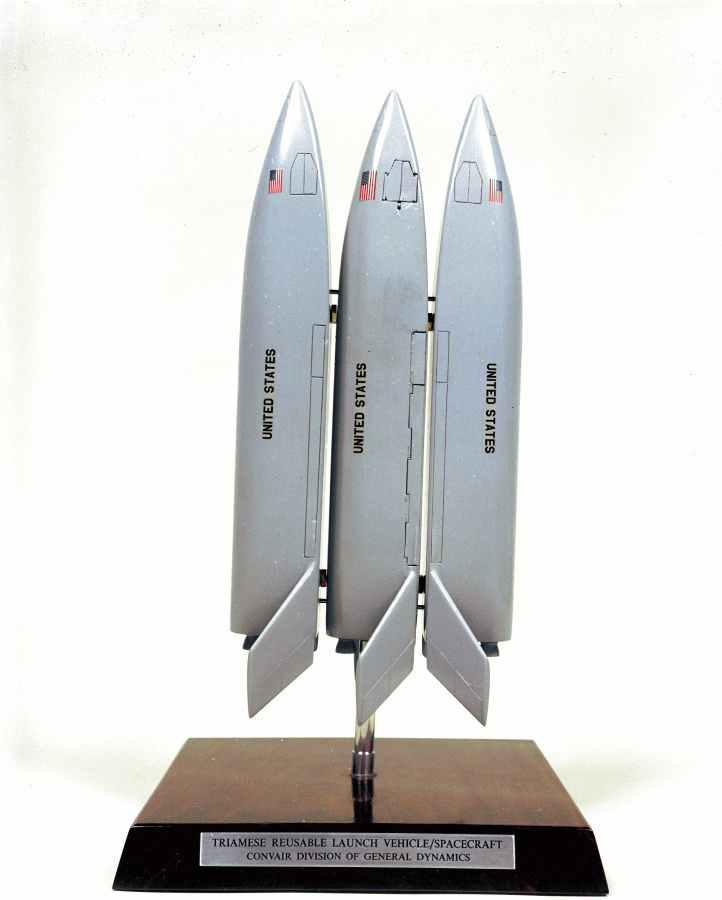
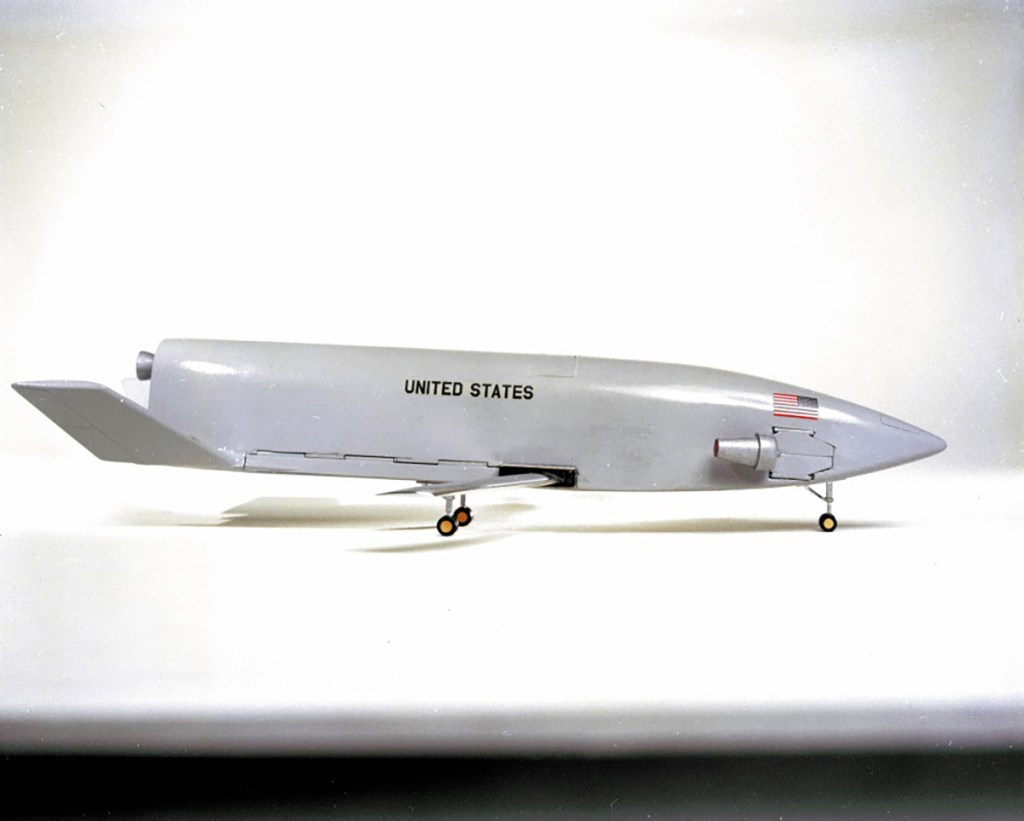
Images: SDASM Archives, National Air and Space Museum
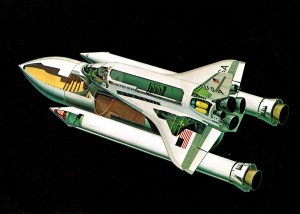
Image credit: Rockwell International
Image source: Numbers Station
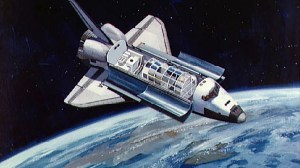
Image credit: NASA
Image source: Internet Archive
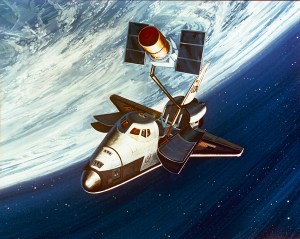
Image credit: NASA
Image source: National Archives
Image credit: NASA
Image source: National Archives


Image credit: NASA
Image source: National Archives

Image credit: NASA
Image source: National Archives