
Image credit: NASA
Image source: SDASM Archives

This silent morning, on Space Shuttle #28, breakfast will probably begin with Tang.
Imagine a spaceship that carries 12 passengers and lands as easily as an airplane. It will be ferrying back and forth to space by the late 1970’s.
And if the future is like the present, Tang will be there in its galley. Just as it’s on your kitchen table.
Nutritious, orange-flavored Tang. The instant breakfast drink with more Vitamin C than orange juice.
No matter where you are.
Tang. For spacemen. And earth families.
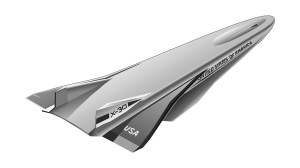
Image credit: Convair
Image source: Numbers Station
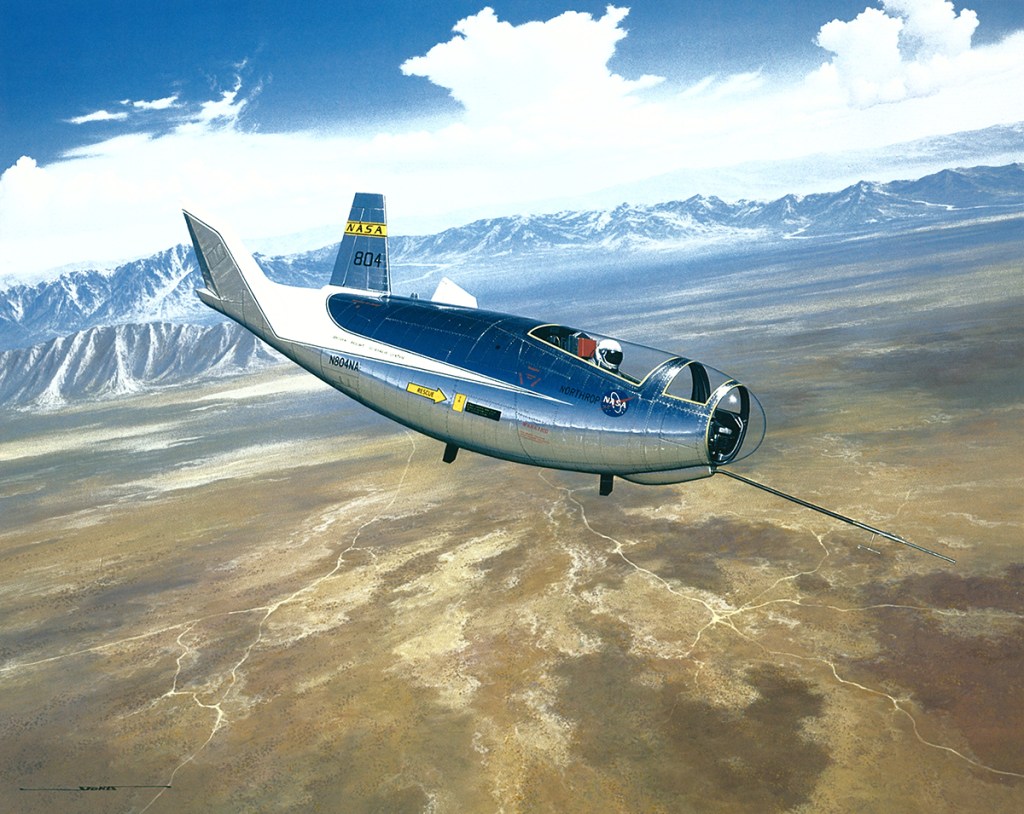
Image credit: NASA Art Program
Image source: Numbers Station
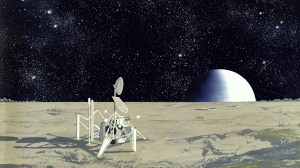
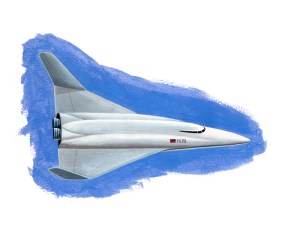
Image credit: Convair
Image source: SDASM Archives
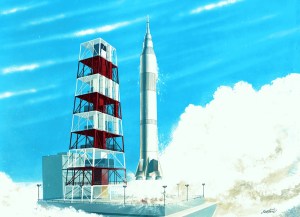
Image credit: Convair
Image source: SDASM Archives

Image credit: Rockwell
Image source: National Archives

Image credit: United States Air Force
Image source: National Archives
Image credit: NASA
Image source: National Archives

Image credit: Convair
Image source: Numbers Station

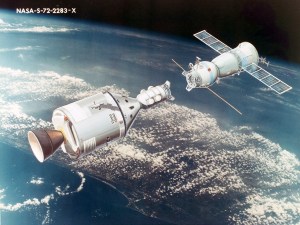
Image credit: NASA
Image source: NASA on The Commons