
Image credit: NASA
Image source: NASA JSC
Image credit: NASA
Image source: NASA JSC
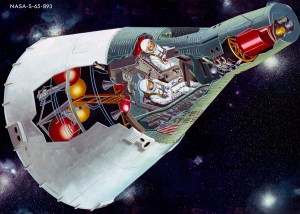
Image credit: NASA JSC
Image source: NASA Images
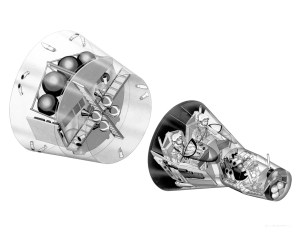
Image credit: NASA JSC
Image source: NASA Images
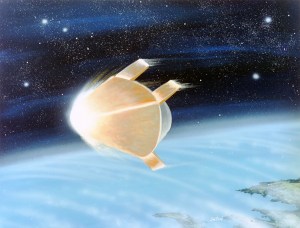
Image credit: Convair
Image source: SDASM Archives
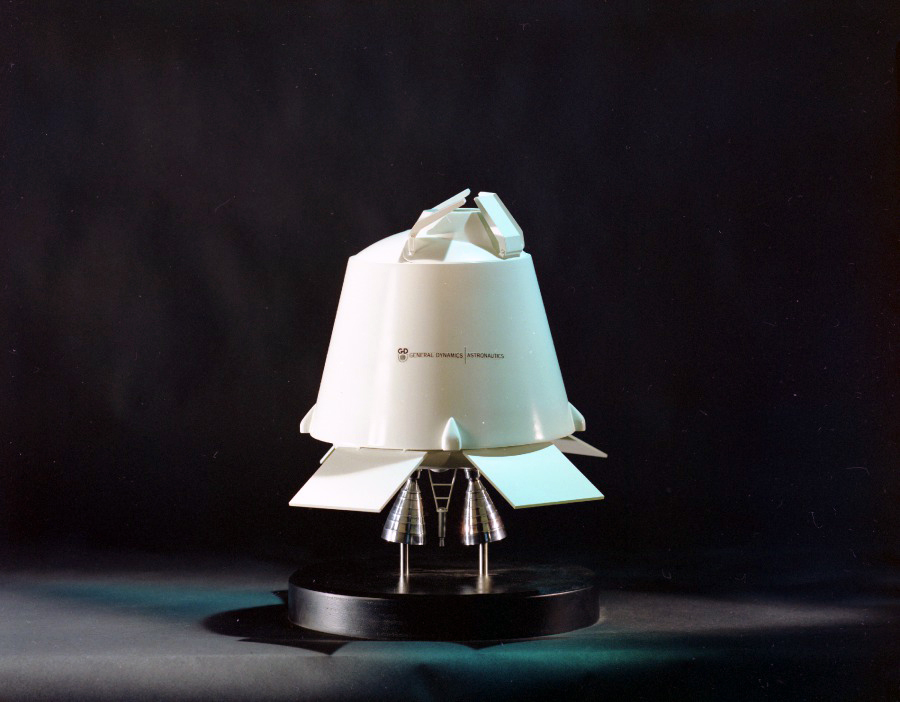

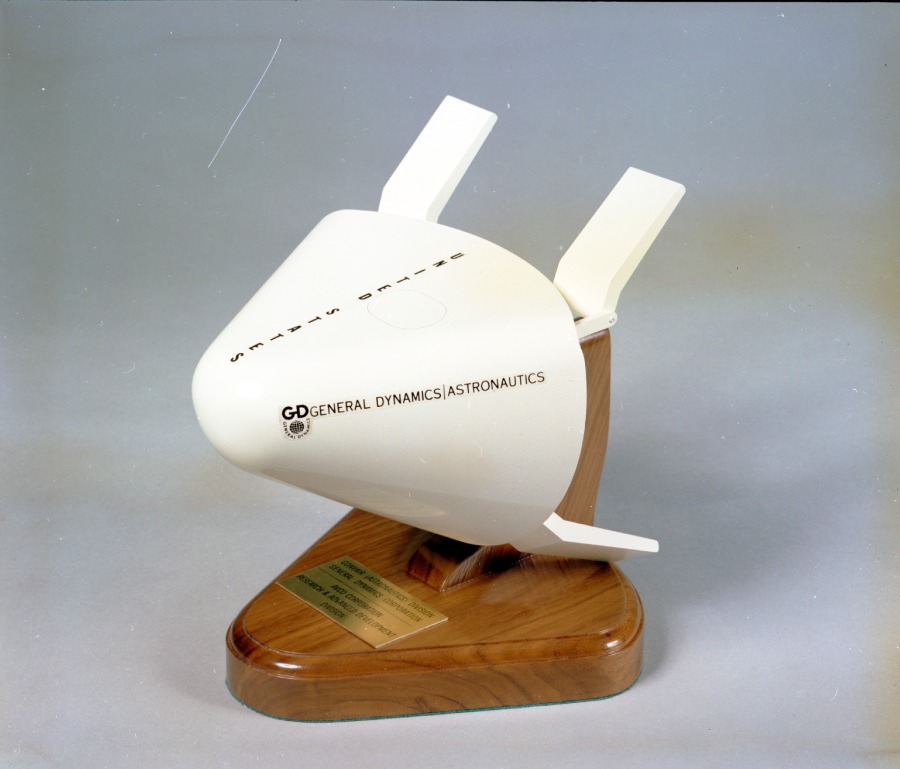
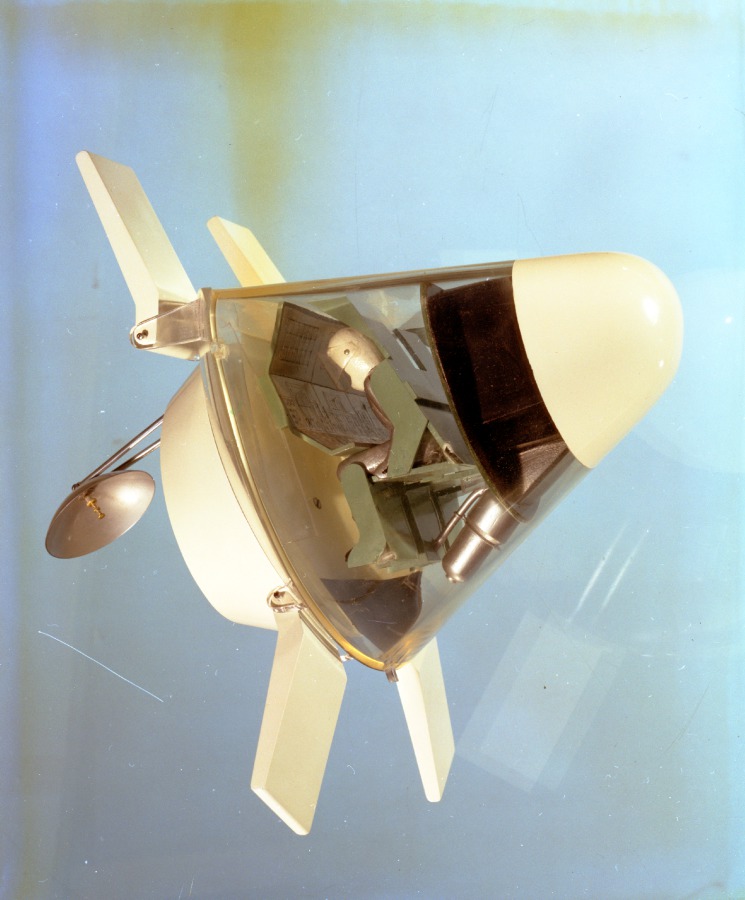
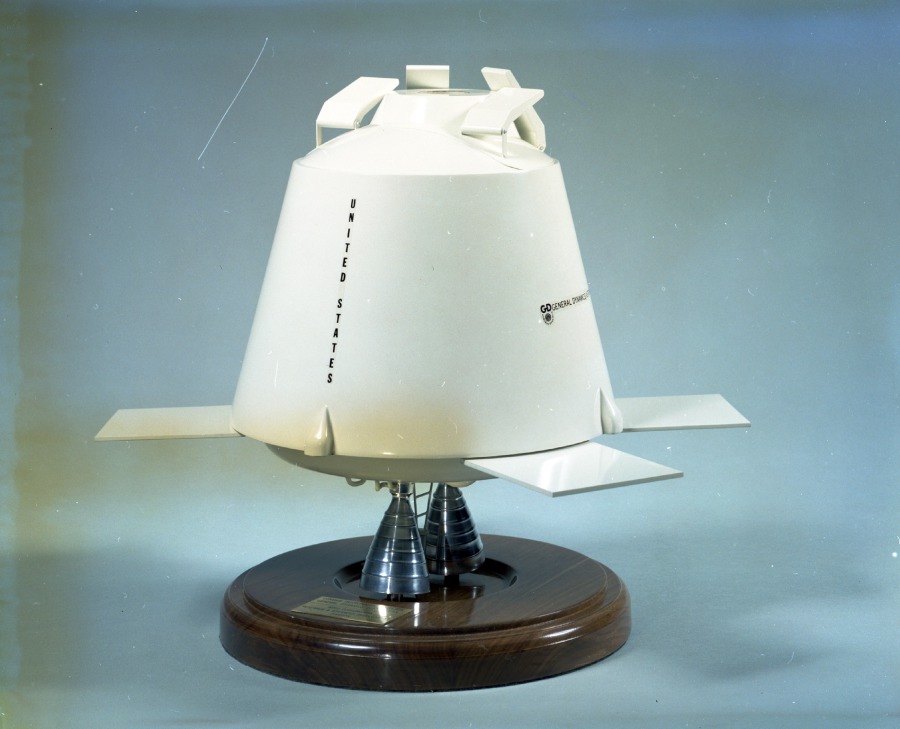
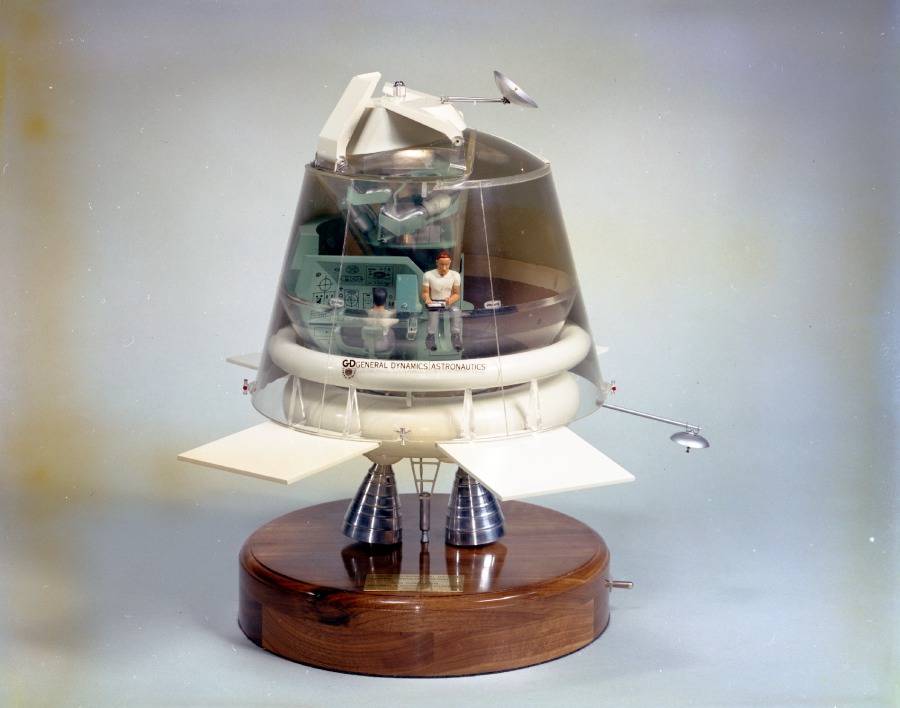
Image credit: Convair
Image source: SDASM Archives
