
Image credit: Martin Co.
Image source: Mike Acs
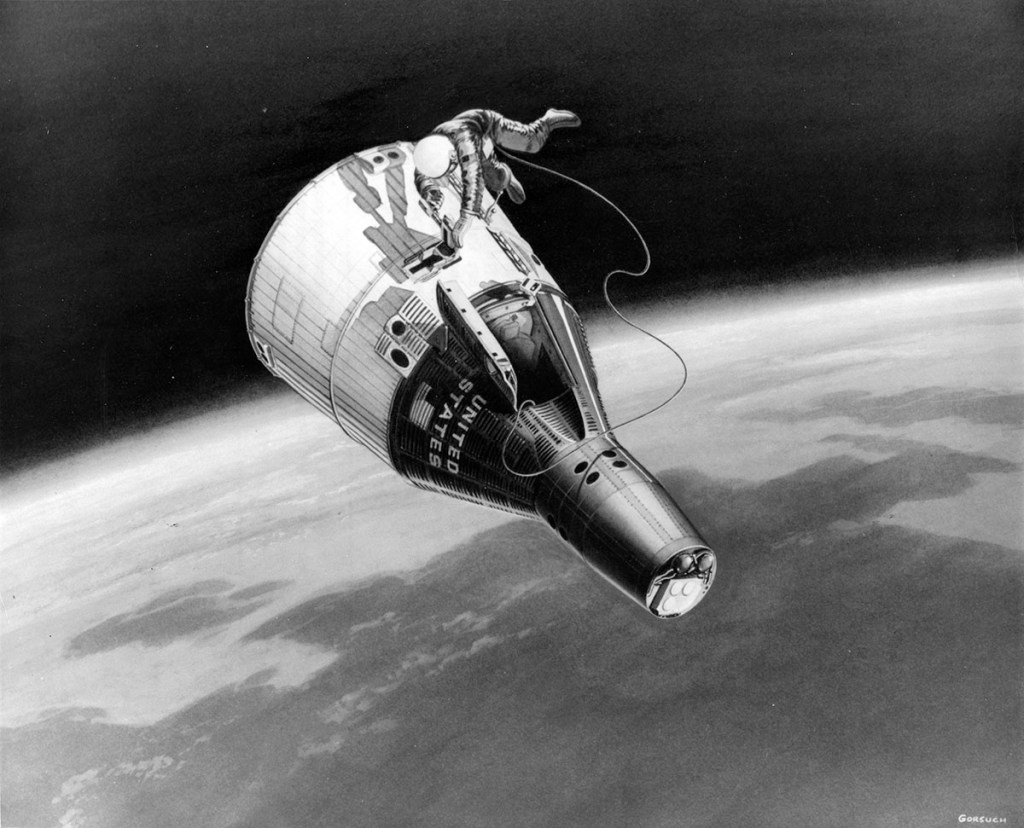
Image credit: McDonnell
Image source: Mike Acs
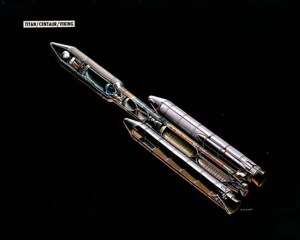
Image credit: Martin Marietta
Image source: SDASM Archives
Image credit: Martin Marietta
Image source: National Archives
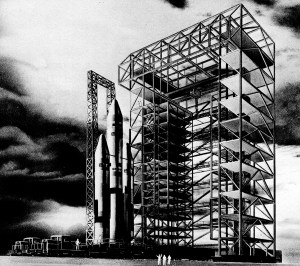
The huge Titan III C vehicle, towering over 150 feet into the air, moves into place on the launch pad. Missile is carried on same railroad car on which its parts were assembled.
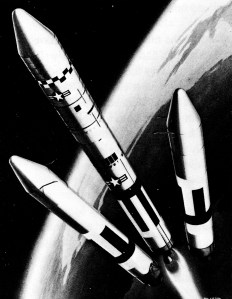
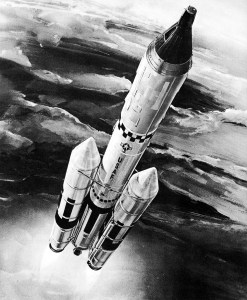
Once the solid rockets have lifted Titan III C and it’s payload off the ground, their role is finished. As this sketch shows, when the solids burn out, they separate from the core section. Just before solid burnout, the first-stage liquid propellant engines are ignited to push the spacecraft farther towards space.

Course of the Titan III and it’s payload is monitored from a launch center such as this.
Orbiting Stations: Stopovers to Space Travel
Irwin Stambler
G.P. Putnam’s Sons, 1965
Image credit: USAF
Image source: National Archives
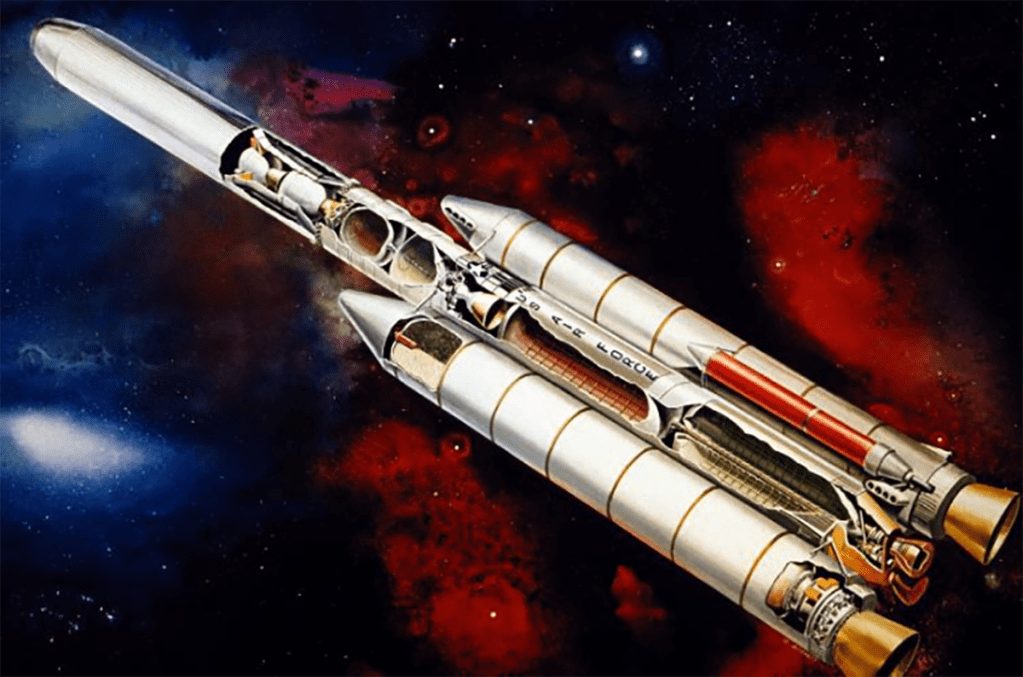
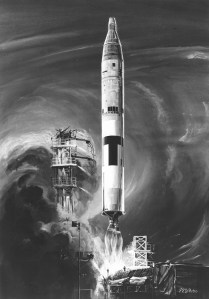
Artist’s concept of the Titan standard launch vehicle 34-D entering the space.
An artist’s concept of the new modular three-section fairing for the Air Force’s Titan III-C space launch vehicle.
Image credit: USAF
Image source: National Archives
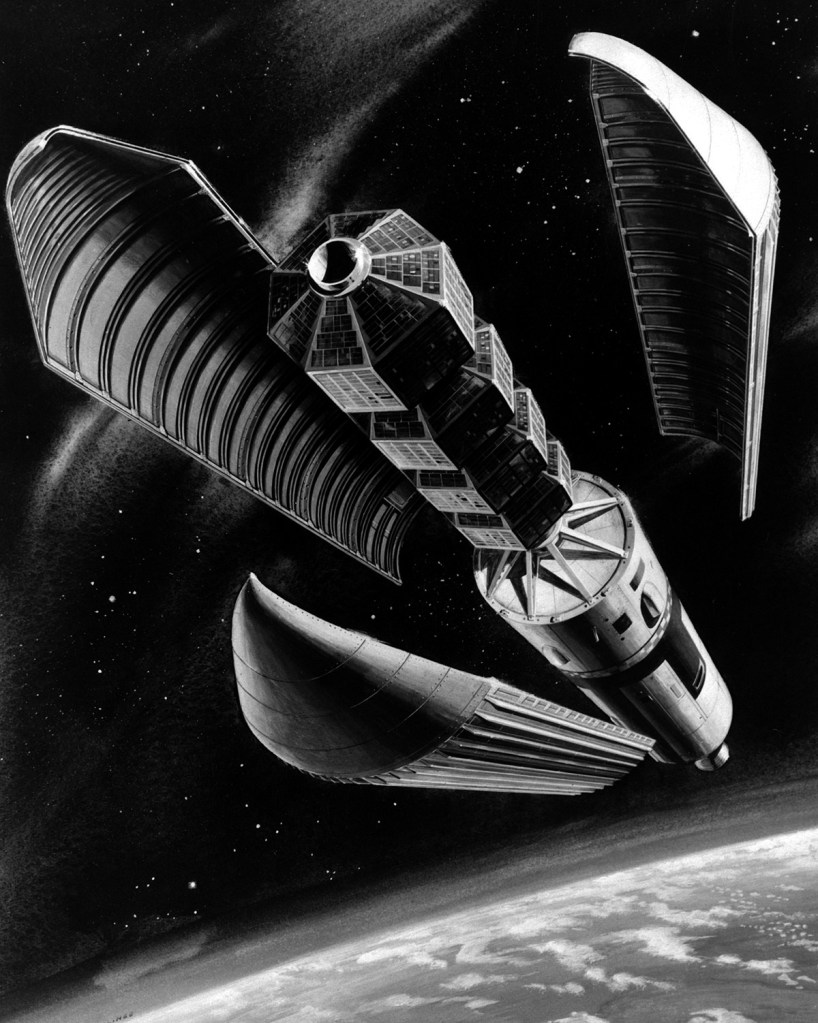
The MOL – Manned Orbiting Laboratory – is shown, in this artist’s view, being lifted into space by the Titan III C. On top of the cylindrical canister, the crew sit in a modified Gemini capsule.
Orbiting Stations: Stopovers to Space Travel
Irwin Stambler
G.P. Putnam’s Sons, 1965
Image credit: USAF
Image source: Numbers Station
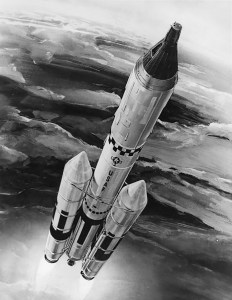
Image credit: USAF
Image source: Stellar Views
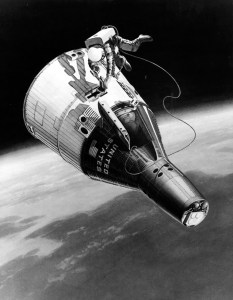
Image credit: NASA
Image source: SDASM Archives

