
Image credit: USAF
Image source: Ed Dempsey
Image credit: USAF
Image source: Ed Dempsey
Image credit: North American Rockwell
Image source: SDASM Archives

Image credit: NASA DFRC
Image source: NASA Images
Image credit: NASA DFRC
Image source: NASA Images
Image credit: NASA DERC
Image source: NASA Images
Image credit: Teledyne Ryan Aeronautical
Image source: NASA Images
Image credit: North American Rockwell
Image source: Numbers Station
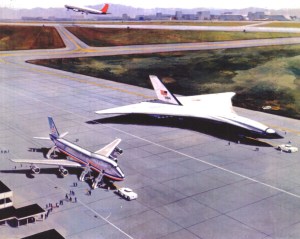
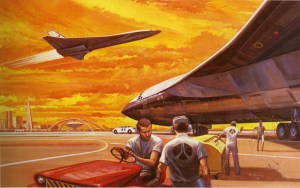
Image credit: Rockwell International
Image source: Alternate Wars
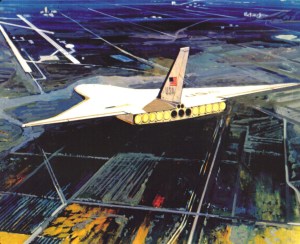
Image credit: Rockwell International
Image source: Alternate Wars
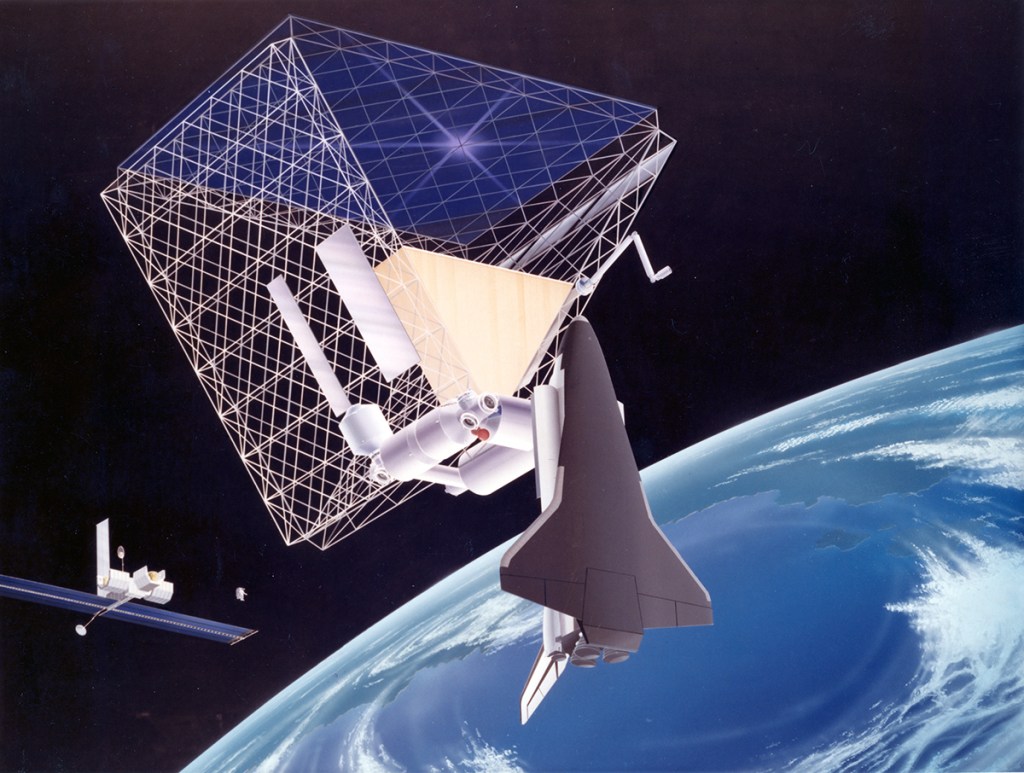
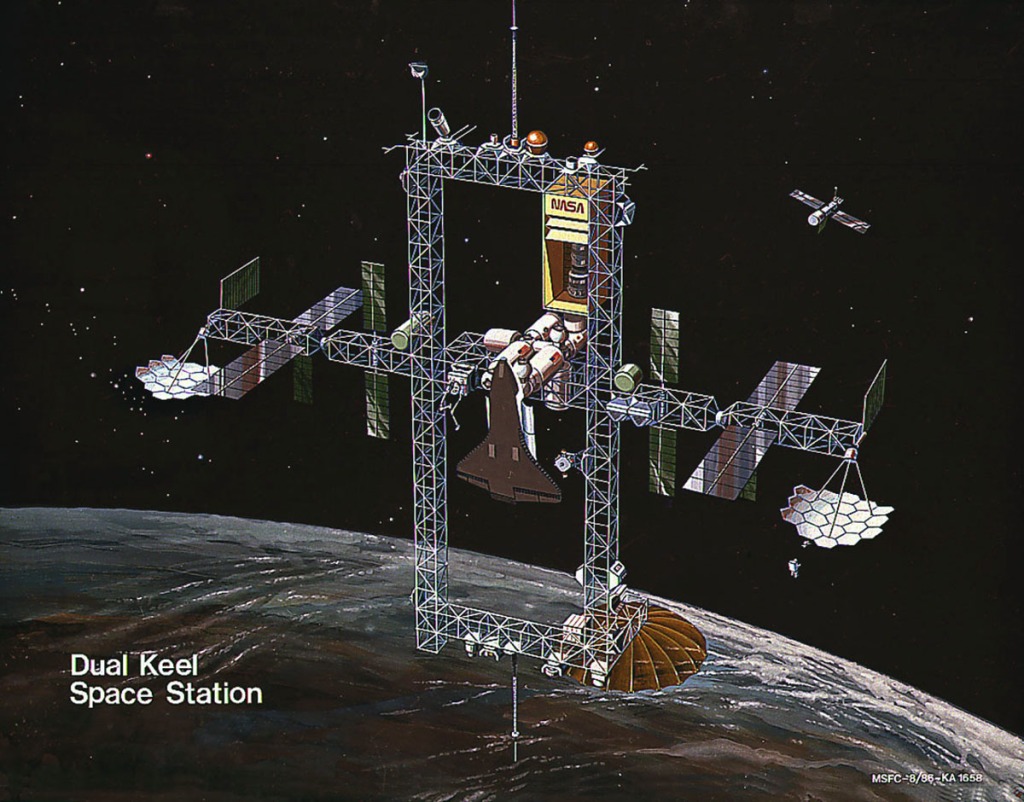
Image credit: NASA
Image source: NASA on The Commons
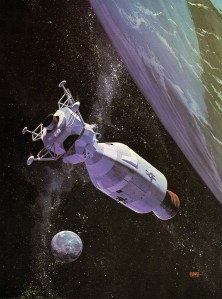
Image credit: Ryan Aeronautical
Image source: Mike Acs
