Station E05
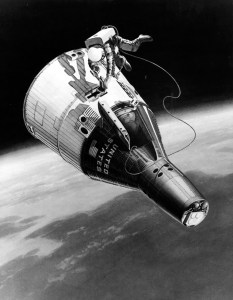
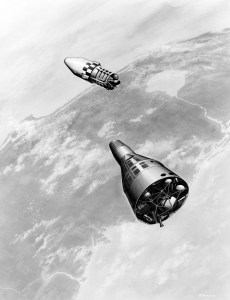
Image credit: NASA Image source: SDASM Archives
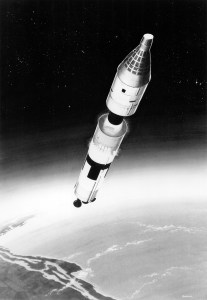
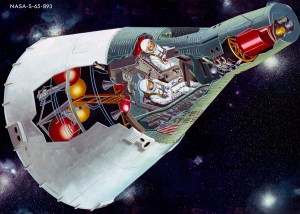
Image credit: Martin Image source: Ed Dempsey
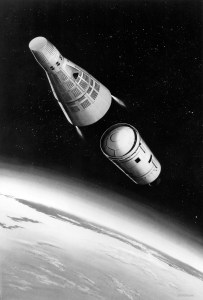
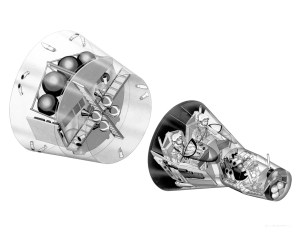
Image credit: NASA JSCImage source: NASA Images