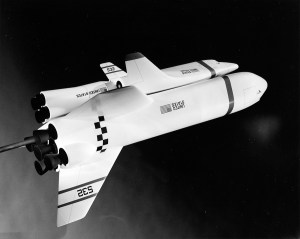
Image credit: Grumman
Image source: Mike Acs
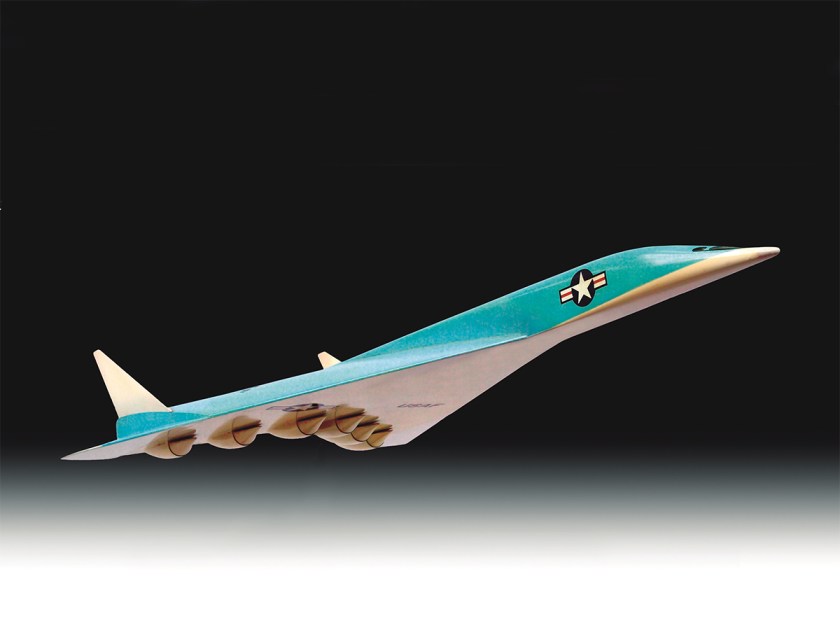
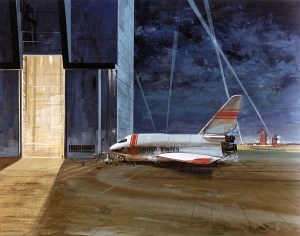
Image credit: Convair
Image source: AFMC
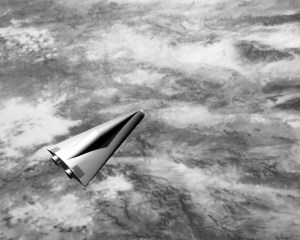
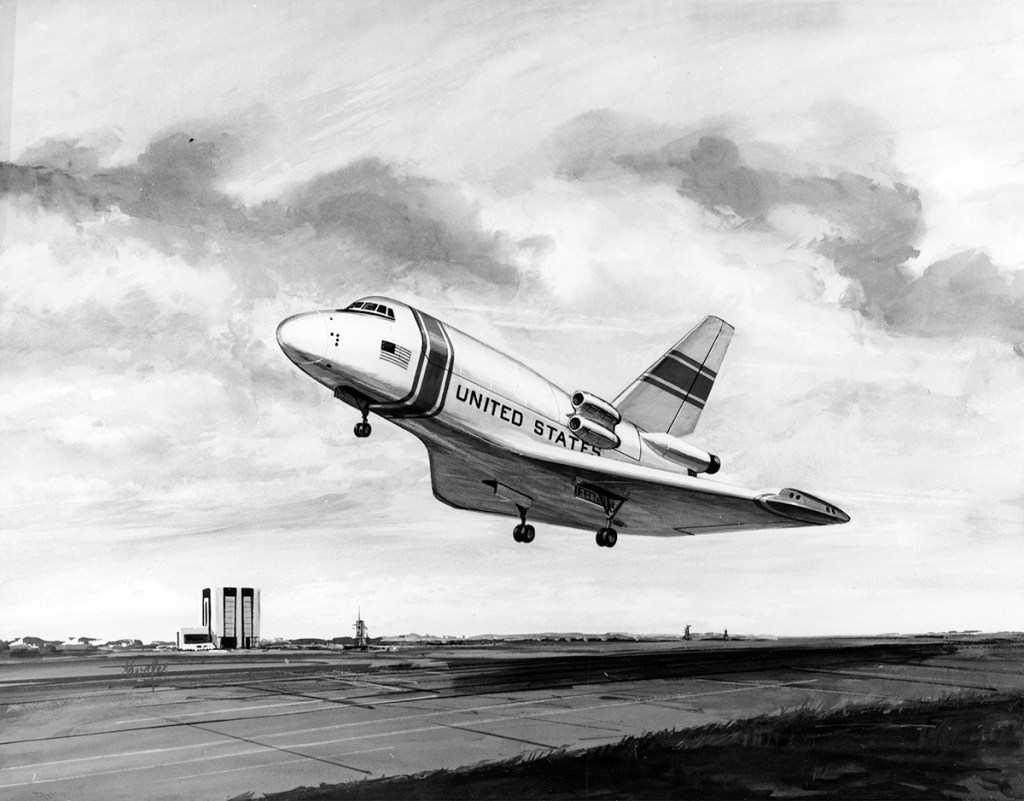
Image credit: Convair
Image source: SDASM Archives
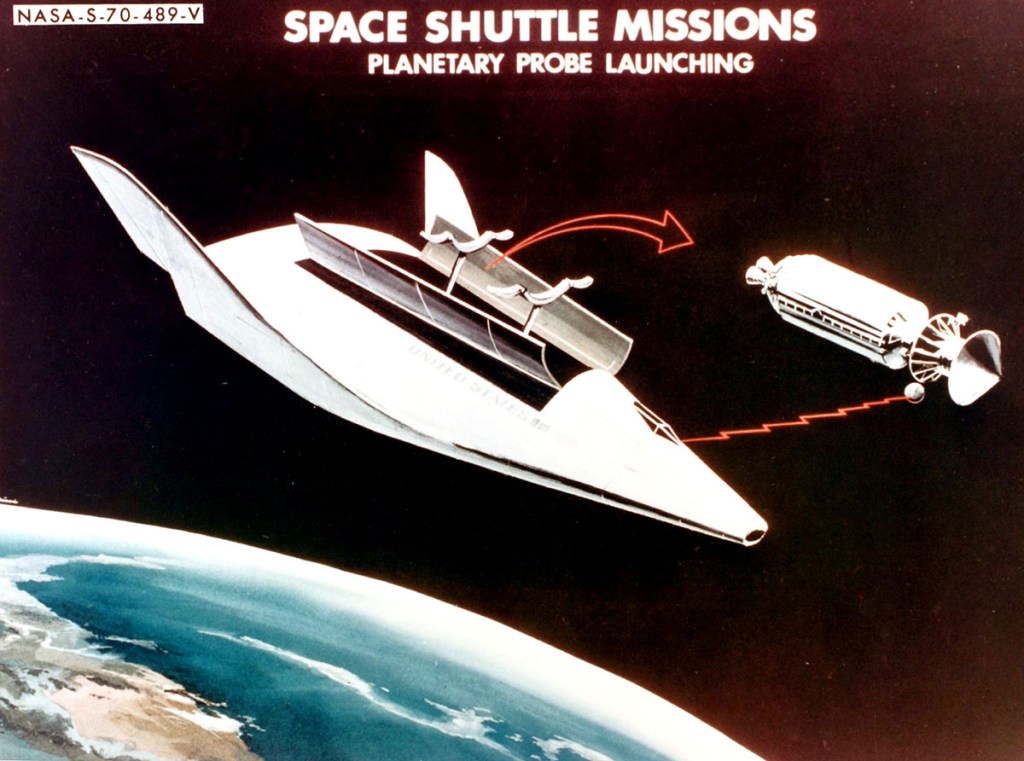
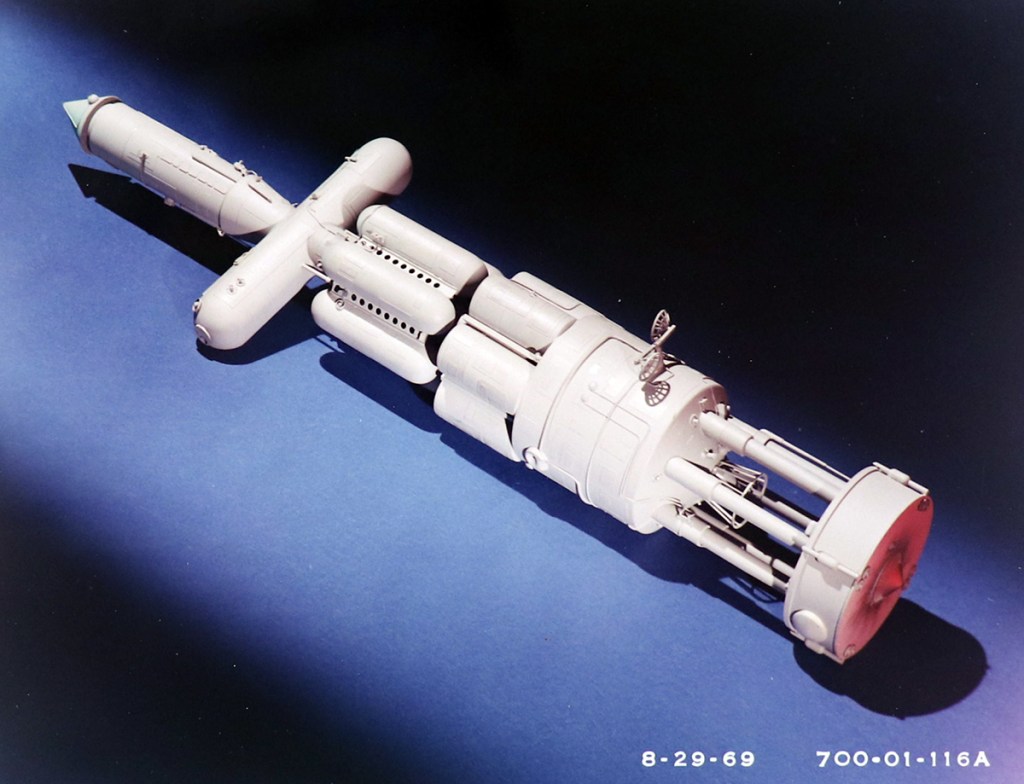
Image credit: NASA Marshall
Image source: SDASM Archives
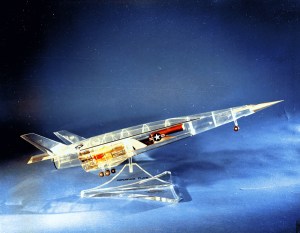
Image credit: Convair
Image source: SDASM Archives
Image credit: North American Rockwell
Image source: Numbers Station